
Photogrammetry with Blender 5.2: From Photos to 3D Models with Meshroom

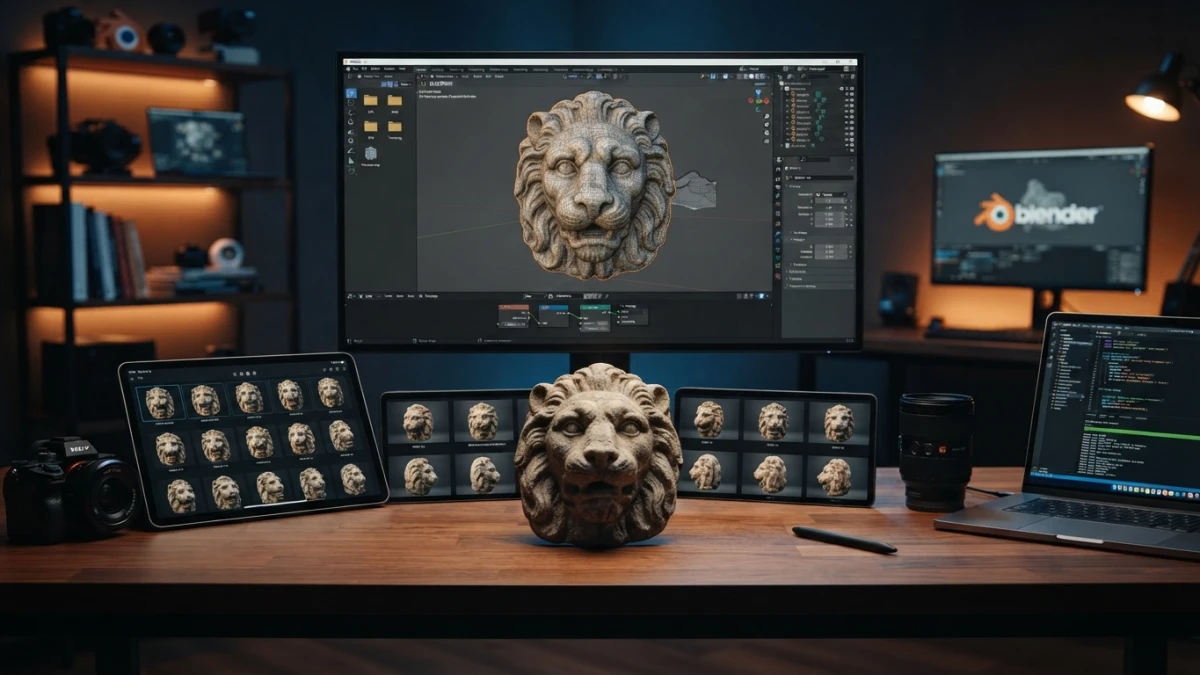
Blender photogrammetry with Meshroom turns photos from your phone into real 3D models: with around 80% overlap between shots and soft light, you reconstruct the mesh for free and get it ready for games, the web, or 3D printing. This tutorial walks the whole workflow, from capture to export.
What Photogrammetry Is and What It's For
From Overlapping Photos to a 3D Mesh: How the Process Works
Photogrammetry reconstructs a 3D model from multiple images of the same object taken from different angles. The software matches common points between photos, estimates the position of each camera, and from that data generates the geometry and then the texture. You only provide the photos: the machine does the math.
Use Cases: Game Props, E-Commerce, Preservation, and 3D Printing
It works for capturing game props, products for online catalogs, museum pieces or heritage worth documenting, and objects you want to reproduce with 3D printing. It's the cheapest way to bring real-world objects into your project, because the only cost is your capture and processing time.
Capture: Half the Result Is in the Photos
Before opening any software, understand this: the quality of the mesh is decided at capture time. If the photos are bad, no pipeline will fix them. These are the rules that separate a clean scan from a mesh full of holes.
Read also

Around 80% Overlap Between Photos
Each photo should share roughly 80% of its area with its neighbors, both horizontally and vertically. That overlap gives the software many common points to match and produces more complete meshes with fewer holes. It's the most important variable and the one people skip most often.
Soft, Consistent Light: Overcast Days or Diffuse Artificial Light
The ideal light is soft and steady: an overcast day or diffuse artificial light. That reduces harsh shadows and gives you uniform illumination that makes details easier to capture. Direct sun creates shadows that shift between photos and confuse the software.
Fixed Camera Settings: Manual ISO, Aperture, and Exposure
Set ISO, aperture, and exposure to manual and don't touch them for the whole session. If the camera adjusts exposure by itself, two consecutive photos can look different and that breaks point matching. Cover the object from multiple angles, including top and bottom, calmly and without rushing.
Read also
What to Avoid: Reflections, Transparent Surfaces, and Motion Blur
Reflections, glass, water, shiny surfaces, and motion blur are direct enemies of photogrammetry. Specular surfaces have no stable points to match, and blur drags error into the whole mesh. If the object shines, consider matting it or picking another object.
Meshroom: Step-by-Step Reconstruction
What Meshroom (AliceVision) Is and Why It's Free
Meshroom is AliceVision's open source photogrammetry software: free, cross-platform, and with a visual node-based pipeline. It's the most accessible option in the free stack alongside Blender, and for many small objects it performs as well as paid alternatives.
The Node Graph: Structure-from-Motion, Dense Reconstruction, Meshing, and Texturing
In Meshroom, each step of the process is a node you can see and connect: Structure-from-Motion estimates camera positions and the sparse point cloud, dense reconstruction generates the dense cloud, meshing turns that cloud into a mesh, and texturing projects the color from the photos onto the surface. The nodes feed each other automatically: you drop in your photos, pick the graph, and hit run.
Running the Pipeline and Exporting the Mesh
Drag your photo folder into the CameraInit node, activate the full pipeline, and Meshroom processes each stage in order. When it finishes you'll have the textured mesh in the output folder: the OBJ file with its texture is what you take to Blender. On modest machines the process can take a while, but it never requires touching code.
Blender 5.2: Cleaning Up the Scanned Mesh
Blender 5.2 LTS was released on July 14, 2026, with official support until July 2028. It imports OBJ, FBX, GLB, USD, and STL without addons, so receiving the mesh from Meshroom is straightforward.
Importing the OBJ or FBX and Checking Scale and Normals
Go to File, Import, and choose Wavefront (.obj) or the format you exported. Before moving on, check three things: scale relative to your scene, orientation, and normals. A mesh with inverted normals looks black and breaks the texture; if that happens, select everything and recalculate with Shift+N.
Decimate: Reducing the Polygon Count Without Destroying Detail
A photogrammetry scan usually arrives with millions of polygons. Add the Decimate modifier in Collapse mode with a ratio of 0.1 or lower to cut the count without visible loss. Always keep a copy of the original before reducing, because the detail you lose doesn't come back.
Removing Floaters and Filling Holes
Floaters are stray bits of geometry the reconstruction invents around the object: select them in edit mode and delete them. Holes in the base or in poorly captured areas get closed by selecting the open edges and using fill or Blender 5.2's new Fill Tool. The goal is a mesh that looks solid from any angle.
Retopology: From Scan Mesh to Clean Mesh
Why Retopologize a Photogrammetry Scan
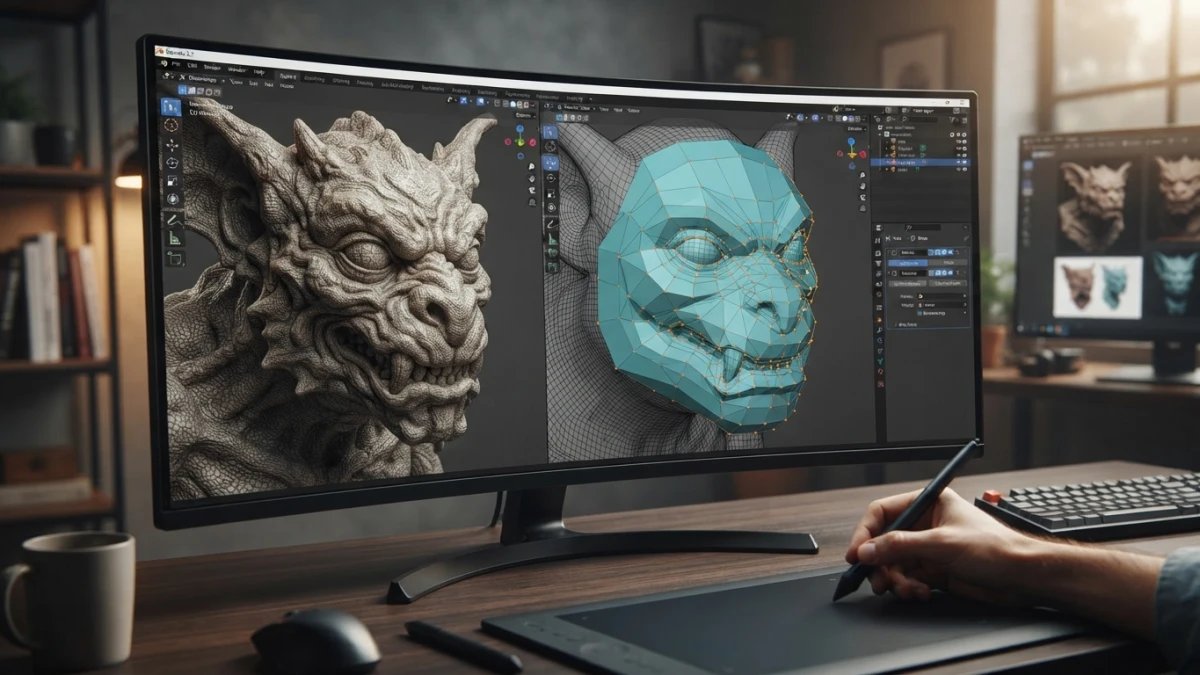
The scan mesh is a sea of irregular triangles: perfect for static renders, bad for animating, deforming, or importing into a game engine. Retopology rebuilds the surface with ordered quads that follow the model's flow, making it editable, subdividable, and rig-ready. It's not always needed, but if the model is going to move, it is.
RetopoFlow and Blender's Native Tools
RetopoFlow is an open source retopology toolset for Blender (from Orange Turbine, tied to CG Cookie) that generates geometry conforming to the surface while you draw. If you prefer not to install addons, Blender has what you need: retopology mode with snap-to-surface, the Poly Build tool, and symmetry modifiers to work on one half and mirror the rest.
Textures and Export
The Photogrammetry Texture: UVs and Maps Generated by Meshroom
Meshroom projects the real color of the photos onto the mesh and generates a texture map with its UVs: that's the great value of photogrammetry, because surface detail (color, wear, relief) arrives for free. In Blender you can check that the material uses that texture, and if you're going to retopologize, you'll need to re-project or bake the texture onto the new mesh.
Exporting to glTF for the Web and STL for 3D Printing
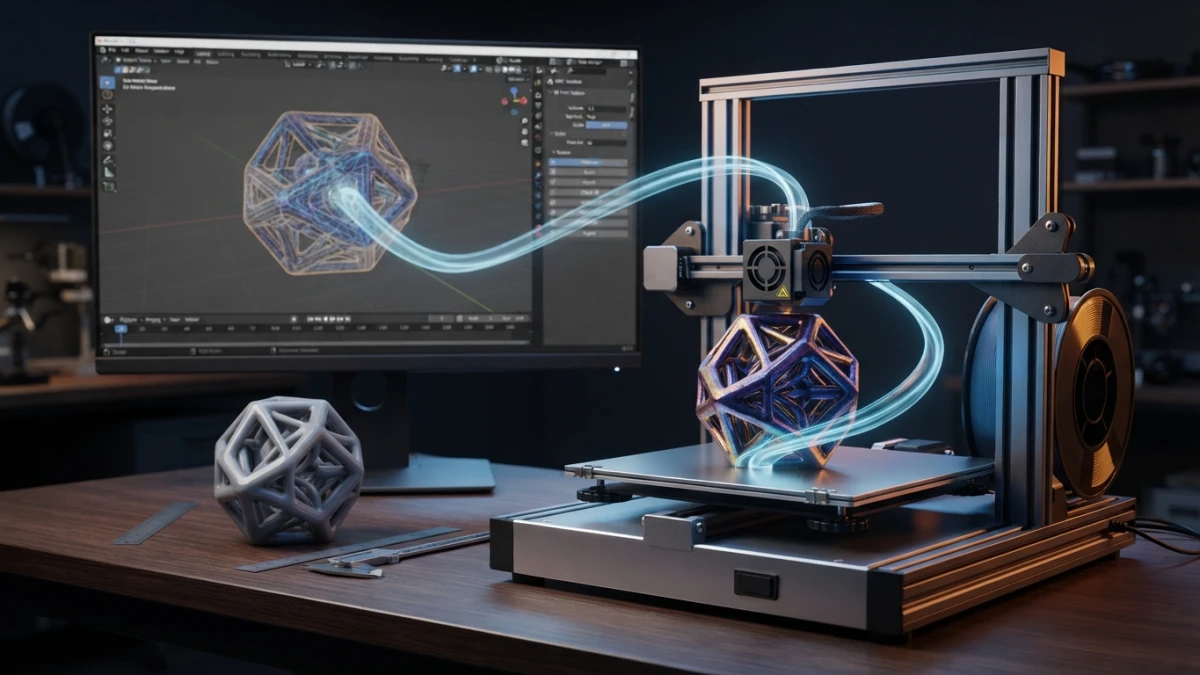
For the web, export as glTF/GLB from File, Export, and choose glTF 2.0: the standard format for online viewers and engines, and we already have a full guide on exporting Blender models to the web with glTF/GLB. For printing, export to STL: first make sure the mesh is closed (manifold), with no holes, and check the scale, as we explain in the Blender 5.2 3D printing guide.
Conclusion
With a phone, 80% overlap, and soft light you can capture real objects and turn them into 3D models without paying for software: Meshroom reconstructs the mesh and Blender 5.2 cleans, retopologizes, and exports it. To go deeper, check the complete retopology guide for Blender 5.2 and, to speed up the workflow, our roundup of essential Blender 5.2 addons. Keep reading the blog for more practical 3D design tutorials.














