
Blender 5.2: Shape Keys and Facial Animation Step by Step

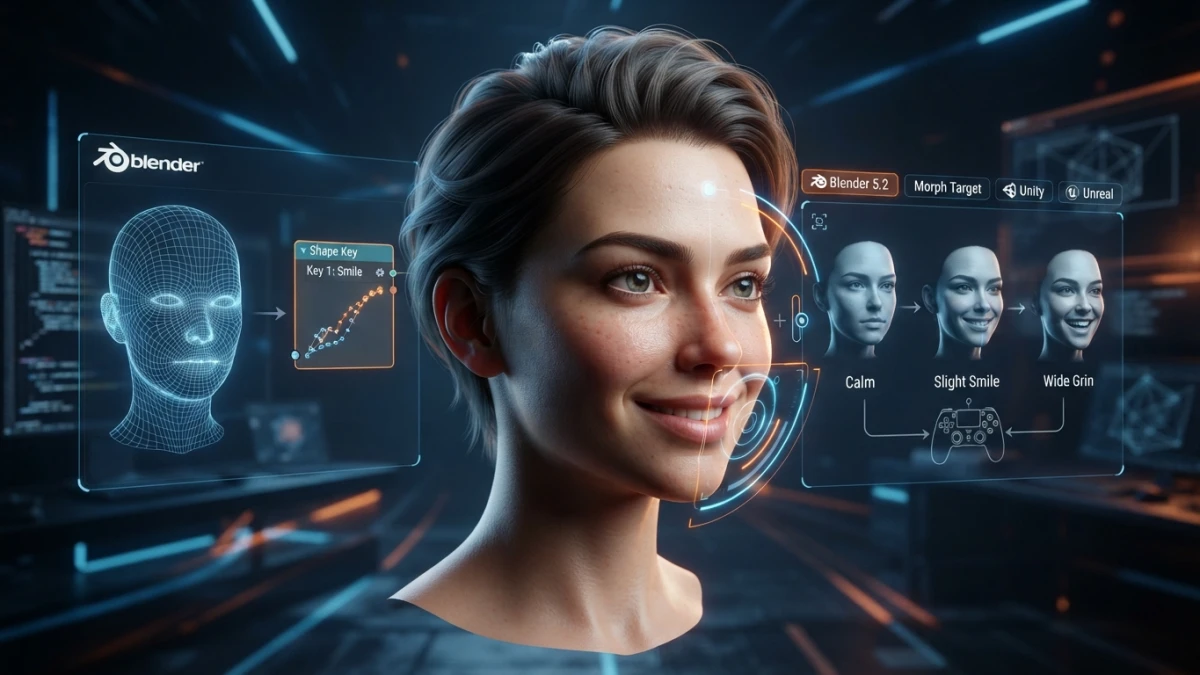
With shape keys, the morph-target technique used across the industry, a Blender 5.2 mesh stores each expression — smile, blink, phoneme — and a slider blends it with the base: that's how you animate a face without retopologizing or adding a single bone.
What Shape Keys Are and Why They Matter in Facial Animation
A shape key is a mesh deformation saved as a "shape" inside the object itself. Each key stores how vertices move away from a reference, and a slider decides how much of that shape blends with the base. In practice, you go from a neutral face to a full smile by moving a single value, without touching the topology or the rig.
Morph Targets and Blend Shapes: The Same Idea, Different Names
Depending on the tool or engine, this technique is called morph targets, blend shapes, or shape keys. The concept is identical: one base shape, several variations, and a weight that combines them. Blender's official term is shape keys; if you come from Unity or Unreal, you will find them as blend shapes or morph targets, and exports preserve them.
Why Topology Matters: Edge Loops Around the Eyes and Mouth
Before creating your first key, check the mesh: edge loops must surround the eyes and mouth following their shape. If the topology is boxy in those areas, a smile will produce pinching or artificial stretching. A face designed for expressions is modeled with these vertex rings in mind, not the other way around; it is the same principle we covered in our topology guide on this blog.
Relative vs Absolute Shape Keys
Blender offers two modes, and each one fits a different kind of deformation.
Relative Keys: The Standard Mode for Expressions
In relative mode, each key blends with its reference: the Value represents the influence between the shape (1.0) and its reference (0.0), usually the Basis. The weight can extrapolate above 1.0 to amplify the deformation or below 0.0 to invert it. For facial expressions this is the right mode: a value from 0 to 1 maps to the percentage of the smile or the blink.
Absolute Keys: When They Make Sense
Absolute shape keys are measured in frames instead of percentages, and they fit complex deformations that change over time, like a progressive transition between two forms. In facial animation you rarely need them; relative keys give you the fine control a face requires.
Creating the Basic Expression Set Step by Step
The workflow is always the same: prepare the base, add the key, edit the shape, and tune the panel settings.
The Basis: The Foundation of the Whole Stack
When you enable shape keys from the object properties panel, Blender automatically creates the first key, called Basis. It is the neutral pose of the face and the starting point for everything else: you should not edit it after creating variations, because all of them are measured against it.
Smile, Brow, Blink, and Phonemes: Which Keys to Create First
With the Basis ready, press the add-key button and select the new shape. Enter Edit Mode and move vertices to draw the expression: the smile lifting the corners, the furrowed brow, the blink closing the eyelids. For a basic face, five to ten keys are enough; if you also want dialogue, add the mouth shapes for the main phonemes (A, E, I, O, U, M, B, P).
Tuning the Value Slider, the Range, and Vertex Groups
Back in Object Mode, the panel shows a Value slider for each key. If a deformation affects an area it should not (for example, the smile moving the eyebrow), limit the key to a vertex group covering only the region you care about, and adjust the minimum and maximum range of the value to avoid exaggerated deformations.
Animating Shape Keys
Once the expressions exist, the next step is bringing them to life over time.
Keyframes on the Value Slider
To animate an expression, go to the frame where it should start, set the slider, and press I over the value to insert a keyframe. Repeat at the end frame with another value: Blender interpolates between them. That gives you a smile that opens and closes, or a quick blink with two nearly consecutive keyframes.
Blending Keys in the Stack for Compound Emotions
The shape key stack lets you combine several at once: a smile at 1.0 with a blink at 0.8 reads as a contained laugh, and adding a little brow changes the emotional tone completely. Play with combinations and keyframe each slider separately for natural transitions.
Drivers: Connecting Shape Keys to a Rig
Hand-keyframing works for close-ups, but if the character has a rig, the usual approach is connecting the keys to bones.
Driving the Value from a Bone or Controller
Right-click the Value slider and choose Paste Driver: the value will now depend on another property. Define a variable from the rotation or position of a rig bone (for example, the jaw controller), and the shape key activates automatically when you move that bone. This is the standard method for making the mouth follow a speech control or the brows follow an eyebrow controller.
Corrective Shape Keys to Fix Deformations
When a bone rotates and the mesh deforms badly — a classic issue in elbows, armpits, or shoulders — a corrective shape key fixes it: a shape that compensates the artifact and activates through a driver in a specific rotation range. Professional rigs like Auto-Rig Pro generate them automatically as a complement to the skeleton.
Lip Sync: Visemes and Mouth Shapes
Dialogue is animated with visemes, the set of mouth shapes that match each phoneme.
The Viseme Set for Each Phoneme
A viseme groups sounds that look the same when spoken: the open A, the stretched E, the rounded O, the bilabials M, B, and P with closed lips. With a dozen well-made visemes you can cover speech in any language; the trick is anticipating the sound a couple of frames before the audio hits.
Tools: Blender's Native Lip Sync Add-on, Papagayo, and Automated Workflows
Blender 5.2 ships with a native lip sync add-on that generates viseme animation directly from audio. If you prefer an external workflow, Papagayo lets you mark the phonemes of a track and export them as keyframes, and the Cats plugin (aimed at VTubers) provides standard viseme sets ready to connect to your rig.
Exporting Blend Shapes to Game Engines
If the character lives in Unity or Unreal, shape keys travel with the mesh.
glTF and FBX: Bringing Shape Keys to Unity or Unreal
Export the mesh with the keys enabled in glTF or FBX, and the engines import them as blend shapes or morph targets with their names intact. Before exporting, check that the keys stay within the 0-1 range and that vertex groups have no stray weights: that is the most common cause of weird deformations on the other side of the pipeline.
Conclusion
Shape keys are the most direct tool for bringing a character to life: with a clean Basis, a well-topologized expression set, and drivers that connect the face to the rig, you get facial performance without paid rigs. Start with five keys and a blink, and once you master the workflow, add visemes and lip sync. Keep reading the blog for more Blender 5.2 and character animation tutorials.














