
Digital Sculpting in Blender 5.2: A Beginner's Guide

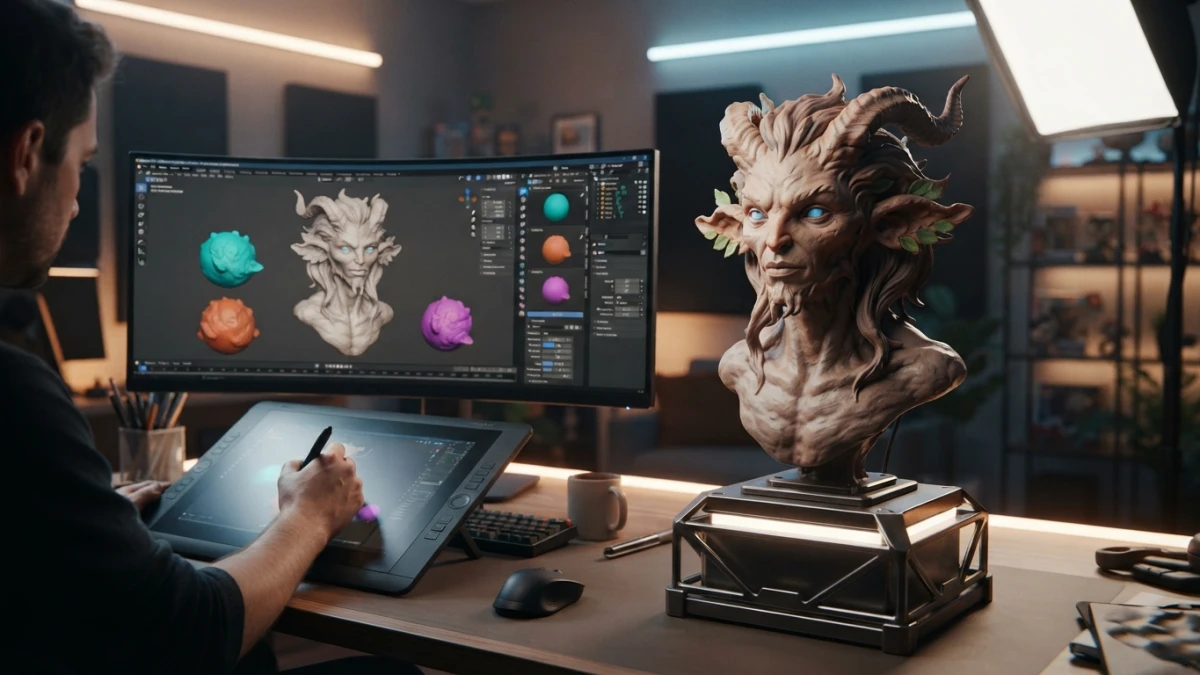
Blender 5.2 LTS shipped on July 14, 2026 with the stability of a long-term support release, and its Sculpt mode is still the most direct door into digital sculpting: you push and pull the mesh with brushes as if it were clay. This beginner's sculpting guide walks through the whole Blender 5.2 workflow, from tablet setup to a final mini-project.
What Digital Sculpting Is and Why It's Addictive
Digital sculpting is a 3D modeling technique that mimics working with clay: instead of moving vertices, edges and faces by hand, you use brushes that push, stretch, flatten and smooth the surface like a physical material. It is the go-to method for characters, creatures and organic props, and also the most intuitive way in for beginners: results show up fast and control builds with practice.
Sculpting vs. Polygon Modeling
Classic polygon modeling (box modeling) is about placing vertices and extruding faces with millimeter precision; it shines on hard-surface pieces such as vehicles, architecture or furniture. Sculpting works with broad gestures and progressive corrections: first you define the silhouette, then you add detail. In practice both are combined: many artists build the base shape with polygon modeling and switch to Sculpt mode for the organic details.
What's New in Blender 5.2 LTS
Blender 5.2 LTS, released on July 14, 2026, is the first long-term support version of the 5.x series: the official release notes describe it as a great balance between new features and stability improvements. The highlights for sculptors and artists include Cycles Texture Cache (which speeds up texture reuse across renders), the new Thin Wall mode in the Principled BSDF for translucent surfaces, raytracing and ambient occlusion improvements in EEVEE, and a new physics node in Geometry Nodes. Version 5.1 had already moved the base libraries to Python 3.13, OpenColorIO 2.5, OpenEXR 3.4 and OpenVDB 13.0, so the ecosystem arrives mature at 5.2.
Read also


Setting Up: Tablet, Workspace, and Base Mesh
Before sculpting, get the environment ready: the Sculpting workspace ships with Blender by default, with the viewport tuned for brush work and the brush, symmetry and mask panels at hand. The only things you need to configure yourself are your graphics tablet and the mesh you will start from.
Configuring Tablet Pressure
Tablet pressure controls brush strength: press harder and the stroke goes deeper. If your tablet does not respond, check Edit, Preferences, Tablet to make sure the device is detected and that the brush maps pressure to strength and falloff in the brush panel. A tablet is not strictly required to sculpt, but without it you lose fine stroke control.
Choosing a Base Mesh: Sphere, Cube, or Primitives
Every sculpture starts from a simple shape: the UV Sphere is the classic base for heads, rocks and rounded forms; a cube works well for angular pieces you will round off later. Add a subdivision level (or use multires) so you have enough resolution from the start: sculpting with too few polygons produces flat surfaces that show up later.
The Essential Brushes in Sculpt Mode
Blender ships with more than twenty sculpting brushes, but a handful covers most of the work. The idea is to layer them: volume first, then shape, and finally detail and cleanup.
Draw, Clay Strips, and Inflate: Building Volume
Draw is the basic brush: it adds and removes material along your stroke (hold Ctrl to invert). Clay Strips lays down flat masses of material, perfect for building muscle and volume in a controlled way, and it is a favorite for the first passes. Inflate pushes the surface outward, great for adding volume to areas like cheeks or lips without dragging the geometry around.
Crease and Grab: Shapes and Folds
Crease marks sharp folds and edges, such as the lip separation, eyelids or clothing creases. Grab is different: instead of adding material, it grabs the mesh and drags it, ideal for moving large masses and blocking out the general silhouette before detail work. With these two you control the shape, not just the volume.
Smooth and Fine-Detail Brushes
Smooth cleans up imperfections and softens areas that are too pronounced; you will use it constantly between passes. For fine detail, brushes like Crease at a small size, Snake Hook to stretch out spikes (ears, horns) and Pinch to close folds complete the basic set. Remember the shortcuts: F changes brush size and Shift+F changes strength.
Working with Symmetry and Masks
Symmetry (mirrored sculpting) lets you sculpt on one side and have the stroke mirrored automatically on the other: essential for faces, bodies and any bilateral form. Enable it in the brush panel by checking the X axis (or Y/Z depending on your object's orientation). Masks protect specific areas so brushes do not touch them: paint a mask with M and erase it with Alt+M. Use them to lock the eyes while you sculpt the rest of the face, for example.
Managing Resolution: Dyntopo and Remesh
Detail demands polygons, and that is where the eternal beginner question appears: dyntopo or remesh? The answer depends on how your mesh grows.
When to Use Dynamic Topology
Dyntopo (Dynamic Topology) adds and removes polygons dynamically where you sculpt: work on a detail and the area subdivides on its own; smooth it out and it simplifies. It is the most comfortable option for organic sculptures from start to finish, because you never run out of resolution. Enable it from the Sculpt mode header (Dyntopo button) or with Ctrl+D. The downside: the mesh becomes irregular, so remesh before texturing or printing.
Remesh: When the Mesh Stretches
Remesh redistributes resolution across the whole mesh with regular polygons, ideal when triangles stretch out and the surface looks pulled (common after using Grab or Snake Hook). You can remesh with the Remesh modifier or use Ctrl+R for a uniform mesh in one click. It is also the logical step before texturing or 3D printing.
Mini-Project: Sculpting a Head or a Rock from Scratch
To practice all of the above, try a rock first: it is the perfect exercise because it demands no anatomy. Add a UV Sphere, enable dyntopo, and break the roundness with Grab; then use Clay Strips for flat planes and Crease for cracks; finish with Smooth on the areas you want clean. If you want a bigger challenge, repeat the process with a head: sphere base, X symmetry, and go from the general (skull, jaw) to the particular (eyes, nose, mouth) without jumping into fine detail too early.
Common Problems and Fixes
Three failures show up over and over in forums when someone starts sculpting in Blender. All of them have a solution, and it is almost always simpler than it looks.
The Brush Does Nothing or Only Paints on One Side
If the brush leaves no mark, check three things: that there is no active mask (Alt+M clears it), that the mesh is visible and selected, and that dyntopo is not blocking the area. If the stroke only appears on one side, you have symmetry enabled by accident (uncheck the axis in the brush panel) or the mesh has a strange orientation that you should normalize with Ctrl+A, Rotation and Scale.
The Brush Looks Flat or Loses Strength
A flattened brush or one that responds in jumps is usually a tablet pressure calibration problem: check the pressure curves in preferences and try disabling pressure temporarily (fixed strength value) to confirm. If the problem persists without a tablet, look at the viewport zoom: with the camera very close, fixed-size brushes look huge and flat; use F to reset the brush's real size.
Conclusion
Digital sculpting in Blender 5.2 LTS is one of the most rewarding 3D skills to learn: with a sphere, four brushes and symmetry you can already model believable organic forms, and dyntopo and remesh guarantee resolution at every stage. Start with the rock, move up to the head, and once you master the flow, the natural next step is retopology or texturing. Keep reading the blog for more Blender 5.2 guides, from beginner rigging to procedural materials.














