
Blender 5.2 for 3D Printing: How to Make a Model Print-Ready (Manifold, Scale, Export)

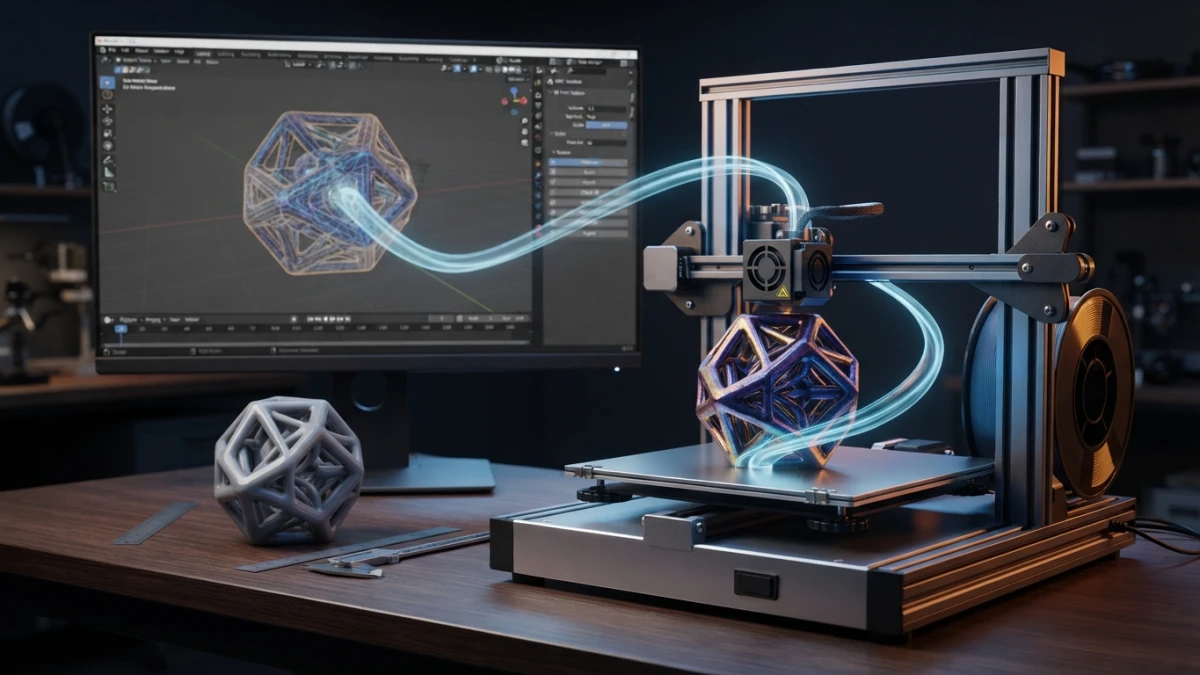
Most print failures aren't the printer's fault: they're non-manifold meshes or wrong scales that reach the slicer. In Blender 5.2 LTS you can make a model ready for 3D printing in minutes with the 3D Print Toolbox add-on and the right unit setup.
What a Model Needs to Print Well
Manifold Geometry: What It Is and Why Slicers Demand It
A manifold model is a closed mesh with no topological errors: no holes, no loose edges, and no inverted faces. The slicer needs that watertight volume to compute layers and generate G-code; if the mesh leaks, the result is broken layers or a slicing error outright. That's why checking the geometry is the first step before printing anything.
Real-World Scale: Blender Uses Meters, Slicers Use Millimeters
The second classic is scale. Blender works in meters by default, while slicers expect millimeters. If you don't adjust the scene units, the STL file reaches the slicer with a part a thousand times larger than intended. That 1000x factor error is one of the most repeated questions in 3D printing forums.
Set Up the Scene Before You Model
Metric Units and Millimeters in Scene Properties
The right approach is to configure the scene before you start modeling. In the Scene Properties panel, Units section, switch the system to Metric and the length to Millimeters. That way, when you model with real measurements, what you see is what gets printed.
Applying Transforms (Ctrl+A) Before Export
Besides units, you must apply the object's transforms with Ctrl+A and choose Scale. Once the scale is applied, the exporter writes the real dimensions into the file. Forgetting this step is the second cause of parts arriving at the slicer with the wrong size.
The 3D Print Toolbox Add-on
Enabling the Add-on Included in Blender 5.2
Blender 5.2 LTS ships with the 3D Print Toolbox, an official extension built exactly for this workflow. You enable it in Edit, Preferences, Add-ons, searching for "3D Print Toolbox". Once active, a side panel appears with all the analysis and repair tools. In our article on essential Blender 5.2 add-ons you can find more extensions that complement this workflow.
The Checks: Solid, Non-Manifold, Thin Faces, and Intersections
The Toolbox panel offers several one-click analyses. The Solid check verifies the volume is watertight; Non-Manifold marks problematic edges and vertices; Thin Faces detects areas where the mesh is too thin; and Intersections flags surfaces that cross each other. Running all four before exporting covers most typical problems.
Make Manifold and Hollow: One-Click Fixes
When the checks find errors, the add-on proposes automatic fixes. Make Manifold rebuilds the geometry to close the volume, and Hollow creates an inner cavity, useful for parts that must be lightweight or save material. They aren't a magic wand for badly degraded meshes, but they solve the majority of cases.
Manual Fixes When the Add-on Isn't Enough
Merge by Distance and Fill Holes
For cases the Toolbox doesn't resolve, Blender has classic manual tools. In Edit Mode, the Mesh, Cleanup menu offers Merge by Distance, which welds coincident vertices and removes duplicate edges, and Fill Holes, which closes open borders. These two operations repair many meshes imported from other applications or from scans.
Wall Thickness: Practical Rules for FDM
A model can be manifold and still print poorly if the walls are too thin. With a 0.4 mm nozzle, the absolute minimum for walls that carry load is about 1.2 mm, meaning two complete perimeters. For parts under tension, press-fit joints, or repeated use, 1.6 mm is a safer bet.
Overhangs and the 45-Degree Rule
Steep overhangs need supports that you have to remove afterwards. As a practical rule, an incline of up to about 45 degrees prints without supports; beyond that, you should add them in the slicer or redesign the part with chamfers. It's easier to orient the part well than to fight with supports that are hard to remove.
Scaling and Orienting the Part
Real Size and the Bounding Box
The Toolbox panel includes scaling tools: you can fit the model to your print bed's maximum size or to a target volume. The bounding box shows the real dimensions of the part, so you can verify at a glance that the size matches what you need before exporting.
Orientation on the Print Bed
Orientation determines the part's strength, the amount of supports, and the quality of surfaces. The Toolbox can rotate the model aligning a face with the bed, and it's worth choosing the face that will sit flat during printing. Remember that layers bond worse vertically: a part printed lying down is usually stronger.
Exporting: STL vs 3MF
STL: The Old Standard and Its Limits
STL is the classic 3D printing format: it describes the mesh surface with triangles and works with any slicer. Its limitation is that it can't store color or materials. For simple parts and maximum compatibility, it remains the most direct option. If you need to export for the web, our article on glTF/GLB export covers that alternative workflow.
3MF: Color, Metadata, and Slicer Projects
3MF fixes STL's shortcomings: it stores color and materials, which is key for multicolor printing with systems like AMS or MMU, and it can also include print profiles, plate layouts, and metadata. The official threemf-io extension extends Blender's support to the Core v1.4.0 specification with slicer-aware export, including project templates for Orca Slicer and Bambu Studio.
The Blender 5.2 Gotcha: The STL Exporter Uses Render Settings
There's a detail that changed in Blender 5.2: the STL exporter uses render settings by default instead of viewport settings. If you export and the result doesn't match what you see in the 3D viewport, check that option and switch it back to viewport settings. It's the most discussed gotcha of the printing workflow in this version.
From Export to Slicer: PrusaSlicer, Bambu Studio, and Orca Slicer
With the file exported, the slicer takes care of the rest: generating layers, supports, and G-code. PrusaSlicer is an open-source reference and its recent version includes a Printables browser with millions of free models. Bambu Studio stands out for its integration with the Bambu ecosystem, and OrcaSlicer remains very active, with continuous security patches in 3MF import. All three accept STL and 3MF without friction.
Hands-On: Prepare a Simple Part from Start to Finish
To lock in the workflow, model a simple open-end wrench or a small bracket. Start by setting the scene to millimeters, model with real measurements, apply Ctrl+A, Scale, and enable the 3D Print Toolbox. Run the checks, fix whatever appears with Make Manifold, verify the walls are above 1.2 mm and overhangs stay under 45 degrees. Scale with the bounding box, orient the part on the bed, export to STL (checking the render settings), and open it in your slicer: it should load without errors and with the correct dimensions.
Conclusion
Preparing a model for 3D printing in Blender 5.2 comes down to three obsessions: manifold geometry, millimeter units, and a clean export. With the 3D Print Toolbox and the steps in this guide, most parts go from the viewport to the printer without surprises. Keep reading the blog for more hands-on Blender and 3D design tutorials.














