
Interior Rendering in Blender 5.2: A Step-by-Step Archviz Workflow

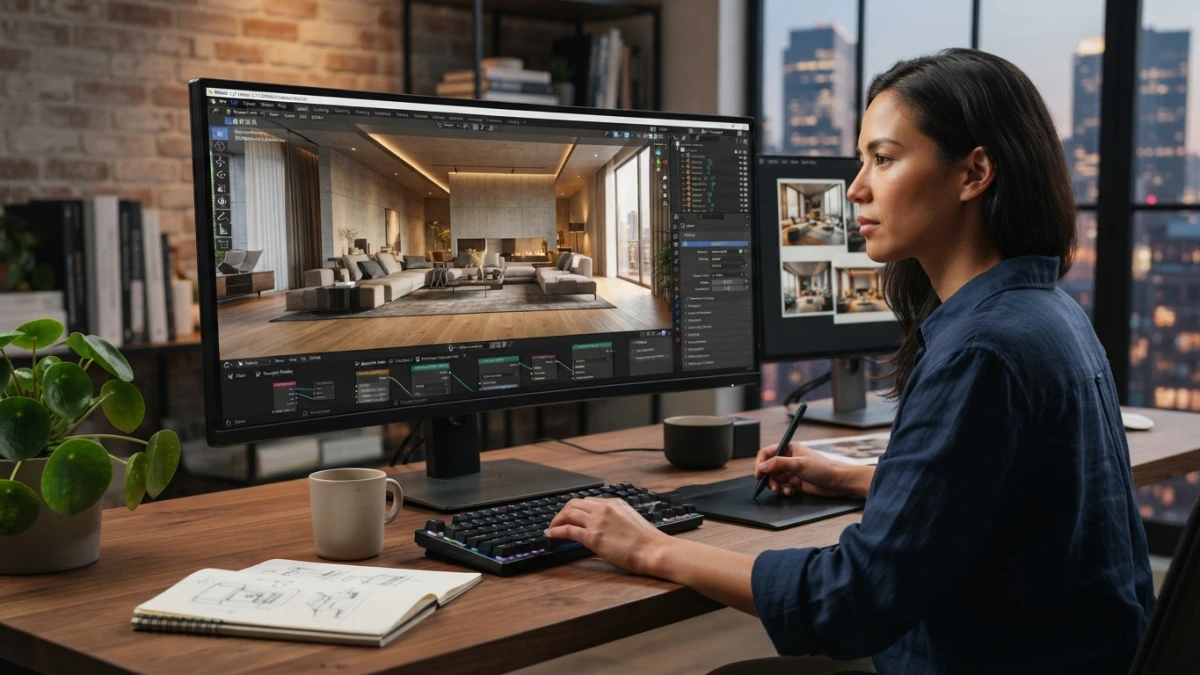
Blender 5.2 LTS, supported until July 2028, overhauled EEVEE and added online asset libraries: you can now render a photorealistic interior with no license fees. This interior rendering tutorial covers the whole archviz workflow, from the empty box to the final render.
Why Blender for Architectural Visualization
Architectural visualization is no longer the exclusive territory of commercial software with per-seat prices. For architects, interior designers, and 3D artists, Blender covers the whole pipeline today: parametric modeling, PBR materials, two render engines, and a huge ecosystem of free assets. And the version you want for this is 5.2 LTS.
Free and Open Source: No Per-Seat Licenses
The most direct argument is financial: Blender is distributed under the GPL, so a studio can install it on every machine without paying for a single seat or renewing subscriptions. That changes the numbers of an interior design project, especially when rendering is a complementary service rather than the core business.
What Blender 5.2 LTS Brings to Archviz: Overhauled EEVEE and Online Assets
Blender 5.2 was released on July 14, 2026, and its release notes describe it as a major release for EEVEE, tackling usability problems carried over since the transition to the EEVEE Next architecture. It also brings node-based physics, remote access to asset libraries, and two years of maintenance updates. For archviz, that means faster real-time iteration and a furniture catalog one click away.
Before Modeling: Scale and Units
The number one mistake of archviz beginners is modeling from memory, without real-world scale. Everything else is built on that foundation, so fix it before touching the first wall.
Switching to Metric Units and Working at Real-World Scale
In the scene preferences, switch the units to metric and set length to meters. From there, model as if you were on site: a 6 by 4 meter room with a 2.5 meter ceiling is drawn with those exact measurements, not made-up numbers.
Why Real-World Scale Matters for Lights, Cameras, and Physics
This is not purism: render engine lights decay according to real distance, camera depth of field is computed in meters, and assets from PBR libraries only fit if your units match theirs. A scene without scale produces lights that do not illuminate and furniture that floats or sinks into the floor.
Modeling the Interior from the Floor Plan
With the client's plan as reference, modeling an interior boils down to three repeated operations: walls, openings, and floors. For this tutorial we follow a typical 6x4 m living room with a window on one side.
Walls with Thickness: Extruding the Plan Base
The fastest approach is to draw the floor plan outline with a curve or a flat mesh and extrude it. Give the walls a realistic thickness, between 0.15 and 0.30 m, and the ceiling height from the project, typically 2.5 m. Even if the top view does not demand it, the thickness shows up when light rakes across a wall or the camera hugs a corner.
Openings: Doors and Windows Without Broken Geometry
To open a door or window, combine clean booleans or model the opening with inset and extrude before applying the subdivision modifier. Avoid loose faces and T-junctions, which later produce artifacts in the render or smears in the UVs. A well-made opening behaves the same in Cycles and EEVEE and accepts the frame, glass, and joinery without surprises.
Parametric Add-ons: Archipack to Speed Up Modeling
For repetitive elements, parametric add-ons save hours. Archipack is one of the most used in architectural visualization: its primitives generate adjustable walls, stairs, windows, and railings. It is not essential, but when the project has several floors or many identical windows, the speed difference is obvious; for more options, I have a guide to Blender 5.2 add-ons by workflow.
Furniture and PBR Assets
Nobody hand-models a sofa when they can drop one in from a library. The final quality of an interior depends as much on assets as on modeling the box itself.
Free CC0 Libraries: Poly Haven (Textures, HDRIs, and Models)
Poly Haven is the reference for free archviz: PBR textures, HDRIs, and 3D models released under the CC0 license, meaning free use even commercially and with no attribution. For interiors it covers everything: the floor parquet, the sofa fabric, the sky HDRI visible through the window, and dozens of ready-to-place furniture pieces.
Online Asset Libraries in Blender 5.2
Blender 5.2 supports online asset libraries out of the box, so you can build your own remote collection of furniture and materials and drag them in from the Asset Browser. If you organize that library well, your next interior project starts half done; my article on the Asset Browser and remote libraries in Blender 5.2 shows you how to set it up.
Commercial Alternatives and Their Blender Add-ons
When a project requires real manufacturer catalogs, commercial libraries with Blender add-ons bring models with materials already assigned. They are convenient, but always check commercial use licenses: Poly Haven's CC0 has no fine print, and that is worth a lot in a client deliverable.
Realistic Materials with Principled BSDF
Blender's default material, Principled BSDF, is designed precisely for this workflow: with a handful of physical parameters you cover wood, fabric, metal, paint, and glass.
The PBR Flow: Base Color, Roughness, and Normal Maps
With PBR textures, the job is almost mechanical: plug the color map into Base Color, the roughness map into Roughness, and the normal map into the normal input through a Normal Map node. The classic beginner mistake is cranking up roughness or adding unnecessary displacement; in interiors, less is more and light does the rest.
Thin Wall Mode in Blender 5.2 for Curtains, Lampshades, and Paper
Blender 5.2 adds a Thin Wall mode in Principled BSDF designed for meshes with minimal thickness: leaves, paper, curtains, and lampshades. With it, those translucent materials behave more photorealistically without modeling double-sided geometry or relying on compositing tricks. It is a small detail that shows up noticeably in a scene with backlit curtains.
Interior Lighting
Light is what separates a 3D model from a believable interior render. The usual archviz pattern combines an environment HDRI with a sun coming through the windows, plus artificial lights for dark areas.
The HDRI + Sun-Through-the-Window Method
Start with an environment HDRI at low intensity: it provides sky light and base reflections without washing out the scene. Then add a warm sun aimed at the window, so it enters as direct natural light and casts the joinery shadows across the floor. That mix of cool ambient light and warm sun is what gives an interior depth.
Lighting in Cycles: Base HDRI and Light Portals
In Cycles, an HDRI alone usually works as a base, but interiors are hard scenes to converge: light enters through small openings and bounces a lot. To speed up noise cleanup, place light portals in the window openings: they tell the engine where real light enters and reduce the samples needed. On GPU with denoising, a 1080p interior at 128-256 samples can finish in minutes.
Lighting in EEVEE: Why HDRI Plug-and-Play Is Not Enough
In EEVEE the story changes: because it does not do full ray tracing by default, indirect light and bounces are computed differently, and the "plug in an HDRI and done" trick from Cycles does not give the same result. For real-time interiors you need to enable and tune specific engine options, such as probe-based indirect lighting. The payoff is iterating composition and lighting at viewport speed; final realism is left to Cycles. To master lighting in general, here is my guide to lighting in Blender 5.2 with three-point lighting and HDRIs.
Artificial Lights: Visible Lamps and Color Temperature
A nighttime interior or one with dark corners needs artificial light. The trick is making the sources visible: if the lamp is in frame, its shade needs a soft emissive material so it does not look like a black object turned on. And control color temperature: warm lights around 2700-3000 K for living room lamps, more neutral light for kitchens or work areas. Mixing different temperatures makes a night scene feel inhabited.
Camera and Framing
A technically perfect render can fail because of a video-game framing. The architectural camera imitates how a person experiences the space.
Eye-Level Camera and Natural Focal Length (35-50 mm)
Place the camera at eye level, between 1.6 and 1.7 m, and use a focal length between 35 and 50 mm. Very wide focal lengths distort vertical lines and mislead the client about the room's real proportions; the natural focal length keeps walls straight and the space honest.
Composition: Rule of Thirds and Interior Lines
Frame the scene with the rule of thirds: let the focal point (the window, the sofa, the hero piece) fall on one of the intersections and use the floor, rug, or ceiling lines to guide the eye. Before the final render, try two or three angles: the client is not buying the model, they are buying the feeling of being in that room.
The Final Render: From Viewport to File
Once the scene is lit and framed, the last stretch is configuring the render so the final file does justice to the work.
Samples, Denoising, and GPU for Clean Interiors
In Cycles, raise the samples to the 128-256 range and enable denoising; on GPU, those values are enough for a clean interior in most cases. If noisy areas remain, instead of raising samples for the whole scene, check the light portals and HDRI intensity: noise usually concentrates where real light is missing, not where samples are missing.
Color Management and Exporting for the Client Presentation
Before exporting, review the scene's color management and pick a view transform consistent with the final use. To present to the client, export high-resolution PNGs or an EXR sequence if you plan to composite or retouch later. And always keep a copy of the final .blend file: last-minute client changes (a different sofa color, another floor texture) are solved in minutes if the project stays organized.
Conclusion
Interior rendering in Blender 5.2 is a workflow, not a trick: real-world scale, clean walls and openings, CC0 assets, PBR materials, window light with HDRI and sun, an eye-level camera, and a render with properly configured samples and denoising. Each step is simple on its own; together they turn a floor plan into an image a client can picture as their future home. If this archviz guide helped you, keep reading the blog for more Blender 5.2 tutorials, 3D design, and visualization.














