
Lighting in Blender 5.2: Three-Point Lighting, HDRIs, and Volumetric Light

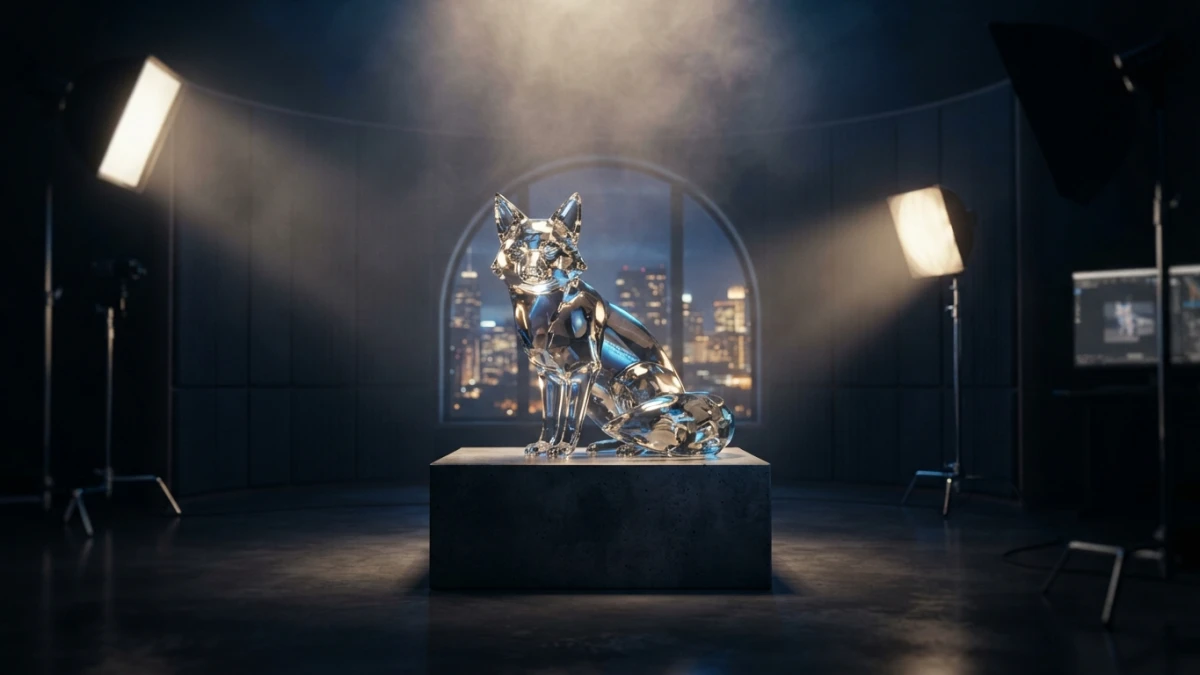
3D scenes rarely fail because of the model — they fail because of the light: a flat render with poorly placed lights shows instantly. With Blender 5.2 LTS lighting — three-point setups, HDRIs, and volumetric light — you can turn any scene into a cinematic shot, in both Cycles and EEVEE.
Why Lighting Changes Everything
The human eye reads shape through light and shadow. An object without lighting contrast looks flat no matter how clean its geometry is, and that is the difference between amateur and professional renders: it is not the modeling, it is how you light it.
The Most Common Mistake: Flat Light and Unreadable Materials
The typical beginner error is adding a single frontal light and raising the intensity until everything looks "bright". The result is a washed-out image with no depth, where textures and relief disappear. The fix is not more light: it is light with direction, contrast, and separation between the elements of the scene.
What You Get in Blender 5.2 LTS
Blender 5.2 LTS (July 2026) keeps the classic lighting tools and unifies them across engines: area lights, the World with HDRIs, volumes for fog and volumetric light, and light linking available in both Cycles and EEVEE. That means the techniques in this tutorial work the same regardless of the engine you pick.
Three-Point Lighting
It is the foundation of any lighting scheme, inherited from cinema and studio photography. Three lights with different roles create form, softness, and separation.
Key Light: The Main Light That Defines the Form
The key light is the main source and defines the direction of the lighting. Place it on one side of the camera, about 45 degrees from the subject, and slightly above eye level. It sets the shape: the shadows it casts are what give volume.
Fill Light: Softening Hard Shadows
The fill light goes on the opposite side of the key and its job is to open up shadows without removing them. Lower its intensity to half or a third of the key and keep a similar color temperature. If you push it too strong, it flattens the scene and you lose the contrast you were after.
Rim Light: Separating the Subject from the Background
The rim light sits behind the subject, pointing toward the camera, and draws a bright edge around the silhouette. It is what visually separates the character or object from the background and adds that instant cinematic finish. In Blender, an elongated area light behind the subject works great for this role.
Size and Distance: The Rule That Improves Any Light
Before touching intensity, think about the size and distance of the light. They are the two variables that change the look of shadows the most.
Big Lights, Soft Shadows
A large, close light produces soft, gradual shadows; a small, distant light produces hard, defined ones. If your render has shadows that are too hard, do not raise the intensity: enlarge the area light or move it closer to the subject. That rule solves 80% of lighting problems.
Distance, Intensity, and Physical Falloff
With physical falloff enabled, the light reaching the subject decreases with the square of the distance. Moving a light away does not just make it weaker: it changes the intensity ratio between near and far parts. If you want soft light that does not flood the whole scene, use a large area close to the subject with moderate intensity.
HDRIs: Realistic Global Lighting in the World
An HDRI is a 360-degree panoramic image mapped into 3D space. Applied to the World, it lights the scene from every direction and acts as the background at the same time: the fastest way to get realistic global illumination.
What an HDRI Is and How to Apply It in 5.2
In the World properties, the surface shader accepts an Environment Texture node with your HDRI image. The scene then receives light from all the colors and intensities contained in the image, giving natural results without placing a single light. For exteriors or simulated studios, it is the fastest option.
Rotating and Tuning the HDRI with Mapping Nodes
HDRI orientation matters: the direction of studio windows or the sun angle in an exterior changes the shadows of your scene. With the Node Wrangler addon (Control+T), Blender automatically adds the mapping and texture coordinate setup. Rotate the mapping node on the Z axis to spin the lighting, and tune exposure with a color node or the shader's strength.
Building Your Own Procedural Studio HDRI
You do not need to download the perfect HDRI: you can build a procedural studio in minutes. Add a large emitting plane (or several area lights) around a point, set them up as a studio cycle with key, fill, and rim, and render. Use that image as an HDRI for your next product-visualization or stylized scenes, and get consistent lighting without depending on the internet.
Volumetric Light and God Rays
Volumetric light makes the light beam visible, like a dusty room or a sun ray crossing a window. It is the effect that adds atmosphere and depth to renders.
Volumes in the World and in Objects
In Blender 5.2 you can add a volume shader (for example, Volume Scatter) to the World to cover the whole scene with light fog, or assign it to an object (a box or a cone) that crosses a light beam. A World volume is global; an object volume is local and lets you control exactly where the effect appears.
Gobos: Shaping Light with Textures
A gobo is a texture that shapes the light, like the templates used on theater spotlights. In Blender, connect an image or a procedural node (for example, a blind pattern) to the factor of a light node, or use it in the shader of an object that blocks the light. It is the cheap way to get sun rays through blinds or organic shadow patterns.
Light Linking: Light Only What You Want
Light linking lets you bind each light to specific objects so it only illuminates them. In Blender 5.2 it works in both Cycles and EEVEE: open the light's properties, enable light linking, and add the objects to the list. Use it so a fill light affects only the character and not the background, or to highlight a product without altering the rest of the scene.
Exposure and Color in Cycles and EEVEE
Lighting does not end at the lights: the camera and film exposure and color settings define how that light translates into the final image.
Exposure and Light Clamping Settings
If your render comes out dark with many lights, check exposure before adding more intensity. In the render properties, adjust the film or camera exposure; in EEVEE, the light clamping settings control how much real light each material receives. Avoid tiny lights with absurd intensities: that is the recipe for noise and blown highlights in Cycles.
Using Color to Direct the Eye
Light color also narrates. A warm key (orange) with a cool rim (blue) creates the temperature contrast that separates the subject from the background and guides the eye toward the point of interest. Use the color temperature of lights and the World's color nodes to give the scene emotional intent, not just flat white light.
Hands-On: Light a Still Life with Three Points and an HDRI
Put what you learned into practice with a quick exercise: create a simple scene with a chair or a bust. First light it with three-point lighting (key, fill, and rim), adjust the light sizes until you get soft shadows, and add a rim to separate it from the background. Then delete the lights, apply an HDRI in the World, and rotate the mapping until you find an interesting composition. Compare both results: you will see how three-point gives artistic control and HDRI gives fast realism, and you will understand when to use each.
Conclusion
Lighting in Blender 5.2 is the skill that separates flat renders from cinematic shots: master three-point lighting to control form, HDRIs for fast global illumination, and volumetric light with light linking to add atmosphere and precision. The still-life exercise gives you the practice that turns theory into instinct. Keep reading the blog for more Blender 5.2 tutorials, from procedural materials to animation.














