
Edit Video in Blender 5.2: A VSE Guide from Cuts to MP4 Export

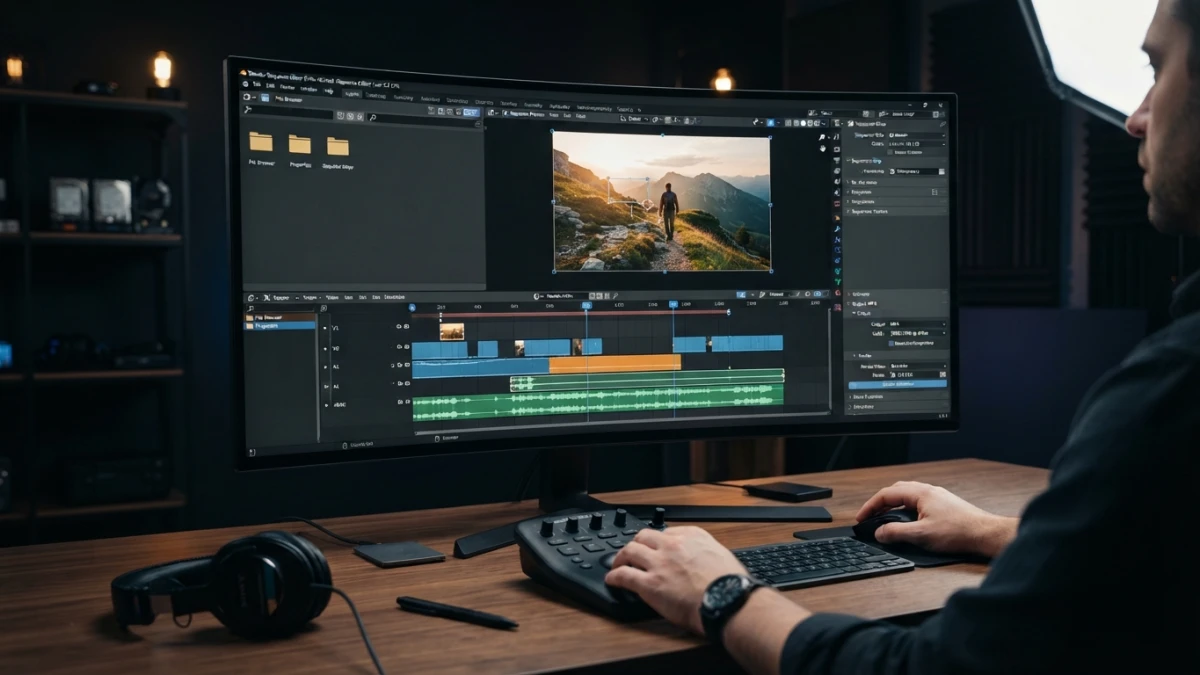
You can edit video with Blender without leaving the program: the Video Sequence Editor (VSE) in version 5.2 LTS assembles clips, transitions, titles, and audio, and exports MP4 files for free with no watermarks. This guide walks through a real edit, from the first clip to the final file.
Why Blender Is Also a Video Editor
To put a video together, most people pay for an editor or put up with the watermark of an online app. Blender has included a strip-based video editor, the VSE, for years, and version 5.2 LTS (July 2026) keeps it as a solid option for production. You do not need to know 3D: open the Video Editing workspace and work only with the edit.
The VSE Inside Blender 5.2 LTS: Free, Open Source, and No Watermarks
The VSE assembles video, audio, and images as strips on a timeline, with a preview to check the result. It is free, open source, and cross-platform, and it exports without watermarks thanks to the built-in FFmpeg integration. For 3D artists it has an extra benefit: it turns a sequence of renders into an MP4 ready for YouTube.
What 5.2 Improved in the VSE and Compositor
Release 5.2 focused on the VSE and the compositor with a push aimed at VFX workflows: a more stable foundation and more comfortable strip operations, such as dragging text or text and color files onto the timeline to create titles on the fly. Cuts, transitions, Text strips, proxies, and export rely on mature VSE features that also work in earlier versions.
What You Can Edit: Screen Recordings, Clips, Renders, Audio
The example in this guide is a short video of one or two minutes: a screen recording of a tutorial, background music, and a title at the start and another at the end. The same workflow works for camera clips, renders, or demos.
The Video Editing Workspace
Switching to the Workspace and Understanding Sequencer + Preview
When Blender opens, switch the workspace in the top bar to Video Editing. The interface splits into the Sequencer, where the strips live, and the Preview, which shows the current frame. Before you start, set the frame rate in Output Properties; 30 fps is a good starting point.
The Strip Timeline: Channels and Overlaps
Strips are arranged in numbered channels from bottom to top; whatever sits on a higher channel is drawn on top. That order is the key to transitions: two clips must overlap on different channels for a blend to fit between them.
Importing and Organizing Your Clips
Dragging Video, Images, and Audio onto the Timeline
From the file browser or your system manager, drag the recording, the clips, and the music into the Sequencer: each file becomes a strip on the channel where you drop it. For a 60-second video at 30 fps, the edit will take up roughly 1800 frames.
Strip Types: Movie, Image, Audio, Color, Text, Scene, and Meta
The VSE distinguishes Movie strips for video, Image or image sequences for renders, Sound for audio, Color for backgrounds, Text for titles, Scene to include a live 3D scene, and Meta to group several strips as one unit. Transitions are added separately as effect strips.
Setting the Frame Range to Match Your Edit
Set the frame range to your content in Output Properties (Frame Start and Frame End). If the project reaches frame 2000 but your video only reaches 1800, the final render will include extra footage.
The Edit: Cuts and Trims
Selecting, Moving, and Sliding Strips
Use box selection (B) to mark several strips and G to move them with the magnet on so they lock into place. To trim, drag the edge of a strip: that sets where it starts and ends without touching the original file, which is never modified.
Trimming the Ends and Cutting at the Playhead
Place the playhead where you want to divide a clip and press K to cut it into two independent strips. Then delete the unwanted piece or move each half separately: this is the basic operation for removing silences, mistakes, or dead sections of a recording.
Ripple Delete and Why Channel Order Matters
When you delete, choose Ripple Delete so the following strips close the gap automatically and the edit stays compact. Remember the order: two clips on the same channel cannot be blended; move one up to create the overlap.
Transitions Between Clips
Effect Strips: Cross, Gamma Cross, and Wipe
With two clips overlapping on different channels, select the junction area and add an effect strip from Add > Effect Strip. Cross blends one clip into another, Gamma Cross is a smoother variant that handles brightness better, and Wipe sweeps one image over another.
Controlling the Length of the Blend
The duration is defined by the overlap: more frames mean a longer blend. For a natural rhythm, half a second or one second is enough; trim or stretch the overlap and the transition adapts.
Titles and Subtitles with Text Strips
Adding Text to Your Edit: Font, Color, and Position
Add a Text strip on a higher channel and type your title. In the properties you configure the font, size, color, and position. For a tutorial, a starting title of about three seconds and an end card are enough.
Timing the Title In and Out
A title's duration is the length of the Text strip: to appear at second 1 and disappear at second 4, place it between those frames. To fade it, combine it with an effect strip just as you would with a video clip.
Outlines with the Glow Effect Strip (Community Trick)
Plain text gets lost over bright backgrounds. A common community trick is adding a Glow effect strip behind or over the text to give it an outline or halo; it is not a perfect outline, but it is free, takes seconds, and is widely used for readable subtitles.
Audio: Music and Sync
Viewing the Waveform and Syncing with Video
Enable the waveform on the Sound strip and you will see the music peaks: align beats with cuts without guessing. To sync voice and video, find a clear peak and line up both strips at that frame.
Volume, Silence, and Audio Cuts
Adjust the volume in the strip properties so the music does not cover a narration. If you need silence in a section, cut the audio with K and lower the volume of the unwanted piece, or delete it with ripple so the track reflows.
Proxies: Editing Heavy Clips Smoothly
What Proxies Are and When to Enable Them
With 4K footage or long clips, the preview stutters because Blender decodes the full file in real time. Proxies are lightweight versions of the clip used only for editing; the final render always uses the original resolution.
Generating and Using the Lightweight Preview
Select the heavy clips and generate proxies from the strip menu, for example at 25% or 50%. Blender builds the preview files and the Sequencer works with them from then on; it is the first step with camera footage or large renders.
Exporting the Final Video
Output Properties: FFmpeg Video, MP4, H.264, and AAC Audio
In Output Properties choose the FFmpeg video format and configure the MPEG-4 container with H.264 video and AAC audio: the standard combination for YouTube and websites. Set the output folder and file name.
The Sequencer Toggle in Post Processing: The Step Everyone Forgets
The key detail: in the Post Processing section, the Sequencer checkbox must be enabled. If it is left off, Blender renders the 3D scene —an empty one or the default cube— instead of your VSE edit.
Render Animation and Checking the Final File
Run Render > Render Animation and Blender processes the frame range with FFmpeg. When it finishes, check the output file: duration, resolution, and audio. If something fails, the usual suspects are a misconfigured frame range or the Sequencer checkbox being off.
Edit Faster: Power Sequencer and Shortcuts
The Free Power Sequencer Add-on for Quick Cuts and Ripple Edits
Power Sequencer is a free, open source add-on by GDQuest, available through the Blender extension manager: quick cuts, one-click ripple delete, and content markers. If you edit often in the VSE, it is the first extension to install.
Keyboard Shortcuts That Save Minutes
A handful of shortcuts covers most of the work: Space plays or pauses, G moves the strip, K cuts at the playhead, B selects with a box, and X deletes with the ripple option. With those you can finish the video from this guide in an afternoon.
Conclusion
Blender's Video Sequence Editor turns the same 3D program into a complete video editor: you import clips, cut, join them with transitions, add titles, sync music, and export to MP4 without paying for licenses or uploading your footage to third-party services. For the rest of the pipeline, this blog has rendering, compositing, and animation guides.














