
Particles and Hair in Blender 5.2: Classic System, Hair Curves, and XPBD Physics

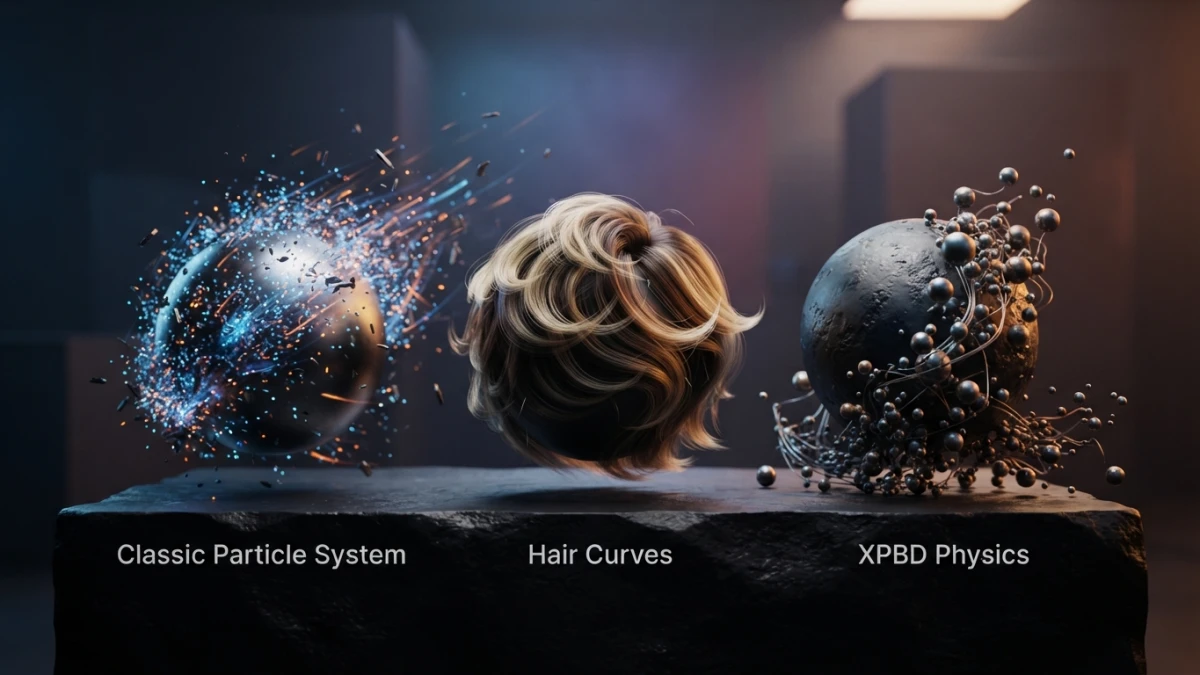
In Blender 5.2 LTS, released on July 14, 2026, there are three different ways to create particles and hair: the classic particle system, modern hair curves, and the new experimental node-based physics built around the XPBD solver. Picking the right one for each scene saves hours of work.
Three Systems, One Question: What Are Particles in Blender 5.2
"Particles" in Blender 5.2 groups three technologies that live in the same application but work very differently. Confusing them is one of the most common questions in forums and 3D communities, and understanding the difference before you start prevents redoing the whole setup from scratch.
The Classic System: Emitter and Hair
The classic particle system has been around for years and comes in two types. Emitter shoots particles from the object over a range of frames: it is the tool for dust, rain, sparks, or simple fire systems. Hair, on the other hand, places fixed strands on the surface of the parent object: it is the fast route to grass, fur, or static hair. Both are configured from the object's particle settings panel and share Particle Edit Mode for grooming.
Modern Hair Curves and Sculpt Grooming
The modern hair system never touches the particle panel. It is based on curves objects with the hair type, known as hair curves, created on top of a mesh and groomed with sculpt brushes in a dedicated mode. It is the recommended workflow for character hair because it offers fine control through guides, adjustable density, and full Geometry Nodes integration.
Read also
The New XPBD Physics in 5.2: Node-Based Hair and Cloth
The headline feature of Blender 5.2 LTS is experimental hair and cloth physics built on Geometry Nodes with an integrated XPBD solver node. The 5.2 manual documents the Hair Dynamics node: curves are simulated as thin flexible rods attached to the surface, and the solver computes the motion. We already covered the XPBD physics launch announcement on the blog; now we take it into practice.
The Classic Particle System Step by Step
Adding a Particle System to an Object
Select the object, open Properties, and go to the Particles panel. The Add Particle System button creates the first system and reveals its settings: name, type (emitter or hair), and the rest of the options depend on that choice. An object can stack several systems, which is handy for combining dust and sparks on the same source.
Emitter: Count, Emission, Velocity, and Lifetime
With the emitter type, the Emission panel controls the number of particles and the frames where they are emitted, using the Start and End values. Lifetime defines how many frames each particle lives before disappearing. Initial velocity is set in the Velocity panel with a direction, such as Normal to leave the surface perpendicular, plus a force value. These four parameters cover everything from steady rain to one-shot explosions.
Hair: Strands on a Surface and Particle Edit Mode
Switching the type to hair makes the same panel place strands on the parent surface: every particle becomes a strand with segments you can groom. To do that, select the object and enter Particle Edit Mode, where tools like comb, smooth, and length shape the hair or grass. It is the same principle as sculpting, but aimed at strands.
Particle Physics: Gravity, Brownian, and Damping
In the classic system's Physics panel, gravity pulls particles down, brownian adds continuous random motion, great for smoke or pollen, and damping slows velocity over time. These three controls define the feel of the motion without writing a single line of code.
Example 1: A Grass Field with Hair Particles
Distribution, Density, and Strand Orientation
The classic example: create a plane, add a hair particle system, and set the particle count in the Emission panel; for a dense field, go high, 10,000 or more. The Children panel spawns extra strands around each parent particle to fill the ground without exploding the cost. In Particle Edit Mode, select everything and use comb to orient the strands, for example toward the wind.
Strand Material and Rendering with Cycles
Strands render with a dedicated material: in Cycles, a shader with a green base color and some per-strand random variation looks far more natural than a flat color. For grass, the advice from our procedural materials guide applies directly: varying the tone per particle avoids the artificial look.
Hair Curves: The Modern Hair System
Creating a Curves Object with the Hair Type
For the modern system, select the mesh that will act as the scalp and create a curves object with the hair type. The Generate Hair Curves node creates brand-new hair curves on the surface, at sampled points, from scratch: the starting point for freeform grooming.
Sculpt Grooming Brushes: Comb, Smooth, and Length
With the curves object selected, enable sculpt grooming: the comb, smooth, and length brushes work like mesh sculpting but on strands. Comb directs the hair, smooth removes kinks, and length trims it. The result updates in real time in the viewport.
Density and Distribution with Nodes (Generate Hair Curves and Interpolate Hair Curves)
If you want to follow existing guides instead of starting from zero, the Interpolate Hair Curves node creates strands between the guides you already groomed: the standard character hair workflow, where you groom a few guides and the system fills the rest. Density is controlled by the node's parameters, with no manual curve duplication.
Example 2: Character Hair with Hair Curves
Guides, Interpolation, and Attach Hair Curves to Surface
On the character's head, create the hair-type curves object, groom the main guides, and add the Interpolate Hair Curves node for the hair mass. The Attach Hair Curves to Surface node keeps the strands anchored to the mesh when the character moves or is animated; the 5.2 manual also documents Redistribute Curve Points and Restore Curve Segment Length for evening out curve points.
The Principled Hair BSDF Material
For hair color and shine in Cycles, the Principled Hair BSDF shader is built for strands: it controls base color, melanin, and roughness, producing the typical highlights of real hair. Combined with three-point lighting, it delivers a professional finish in the render.
The 5.2 Newcomer: Hair Physics with the XPBD Node
The XPBD Solver and the Hair Dynamics Node
To animate hair with physics in Blender 5.2, the flow goes through Geometry Nodes: build a system with the Hair Dynamics node, which sets up the structural constraints and the common effectors, and let the XPBD Solver node compute the motion. The idea is the same one we explored with the cloth dynamics node in our cloth simulation guide: define the rules and the solver integrates the simulation frame by frame.
Gravity, Damping, and Collisions: Basic Setup
The Hair Dynamics node exposes the essential settings: gravity, which pulls strands down; damping, which absorbs motion; and collision, which makes strands interact with the surface or other objects. With these three values you get hair that falls, bounces, or stays still. It is a minimal setup, but enough for a first look at strand physics.
Included Assets and Experimental Status
Blender 5.2 LTS ships hair dynamics and cloth dynamics assets built around the solver node, ready to drag into the scene. Advanced users can edit the constraints or build their own systems from scratch. That said, the physics is experimental, and the team maintains an official feedback thread for issues. For production, many studios still prefer classic hair dynamics or manual simulation until the node version matures.
Which System Should You Use?
Quick Comparison: Classic Particles vs Hair Curves vs XPBD
The decision comes down to three scenarios. Classic hair particles: grass, fur, dust, and repeated elements on surfaces; fast, light, and enough for most cases. Hair curves: character hair with fine control, guides, node-driven density, and brush grooming; the current standard for characters. XPBD physics in 5.2: when that hair needs real physics, wind, motion, or collisions, accepting its experimental status.
Performance Tips: Curve Count, Segments, and Viewport
With classic particles, use children to fill density and keep a reasonable parent particle count. With hair curves, lower the curve count in the viewport and tune the segments per strand: the preview does not need the render's final resolution. And with any XPBD system, reduce simulation resolution while tuning and raise it only for the final render.
Conclusion
Blender 5.2 offers three paths for particles and hair, and each has its place: the classic system for fast, light density; hair curves for artistic control; and XPBD physics for animated hair. Start with the grass example to master the particle panel, move to hair curves for your characters, and try the 5.2 newcomer on a small project. Keep reading the blog for more Blender 5.2 guides.














