
Texture Paint in Blender 5.2: Paint Textures Directly on Your Models

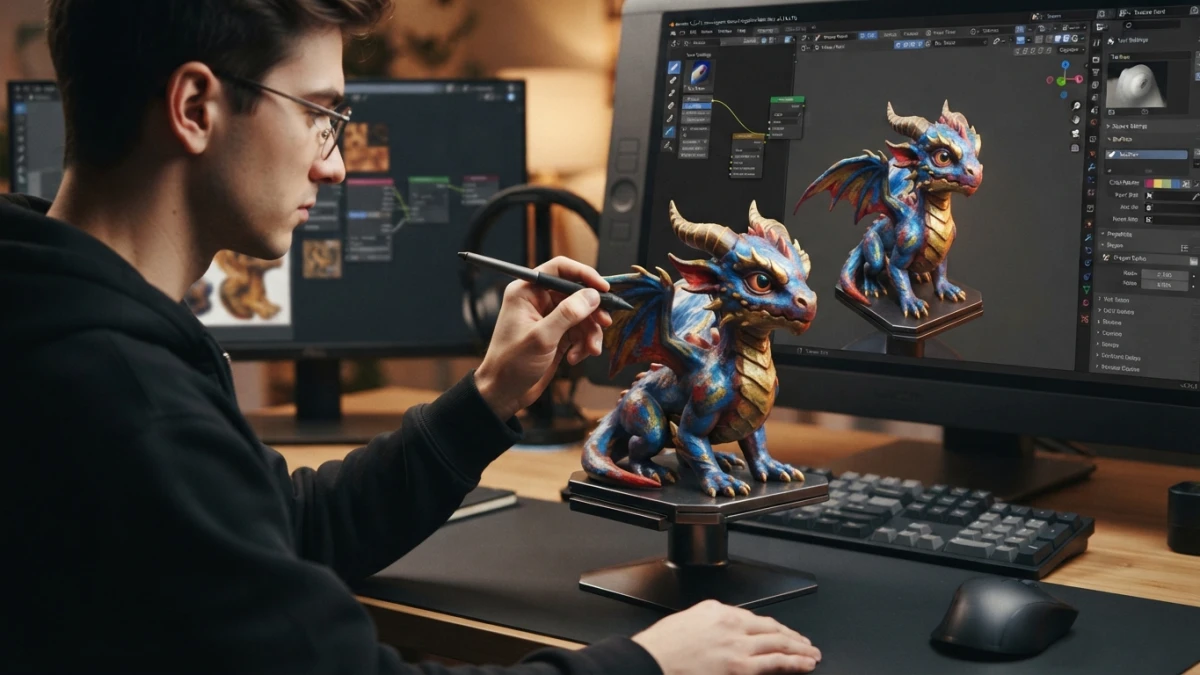
Painting directly on the mesh in the 3D viewport usually gives more natural textures than generated maps: Texture Paint in Blender 5.2 LTS combines brushes, stencils, and bleed on top of your UV map. This guide covers the full flow, from first stroke to saved texture.
What Texture Paint Is and When to Use It
Painting on the Mesh vs. External Textures
Texture Paint is a workspace in Blender's 3D editor for painting directly on the mesh: every stroke is stored in an image associated with the material, instead of editing that image blind in an external editor. It is the natural route for finishes that ask for a human touch: wear on the corners of a prop, color variation on a character's skin, or a cartoon style with controlled shading. Compared with downloaded or generated textures, painting on the model gives you full control and a result that looks exactly as you left it.
The Prerequisite: a Clean UV Map
Texture Paint uses UV coordinates to know where each stroke lands inside the image, so an organized unwrap is a mandatory first step. If the islands are distorted or badly scaled, the paint comes out stretched with visible seams. The UV mapping in Blender 5.2 guide on this blog covers exactly that: from cutting seams to checking the result with a color grid before painting.
Preparing the Model and the Image
The Image Texture Node and Creating a New Image
The basic flow starts in the Shader Editor: select the object, give it a material if it does not have one, add an Image Texture node, and plug it into the Base Color of the Principled BSDF. In the node, press New and create a blank image with the name and resolution you want; that image is the canvas where your strokes will be saved.
Read also
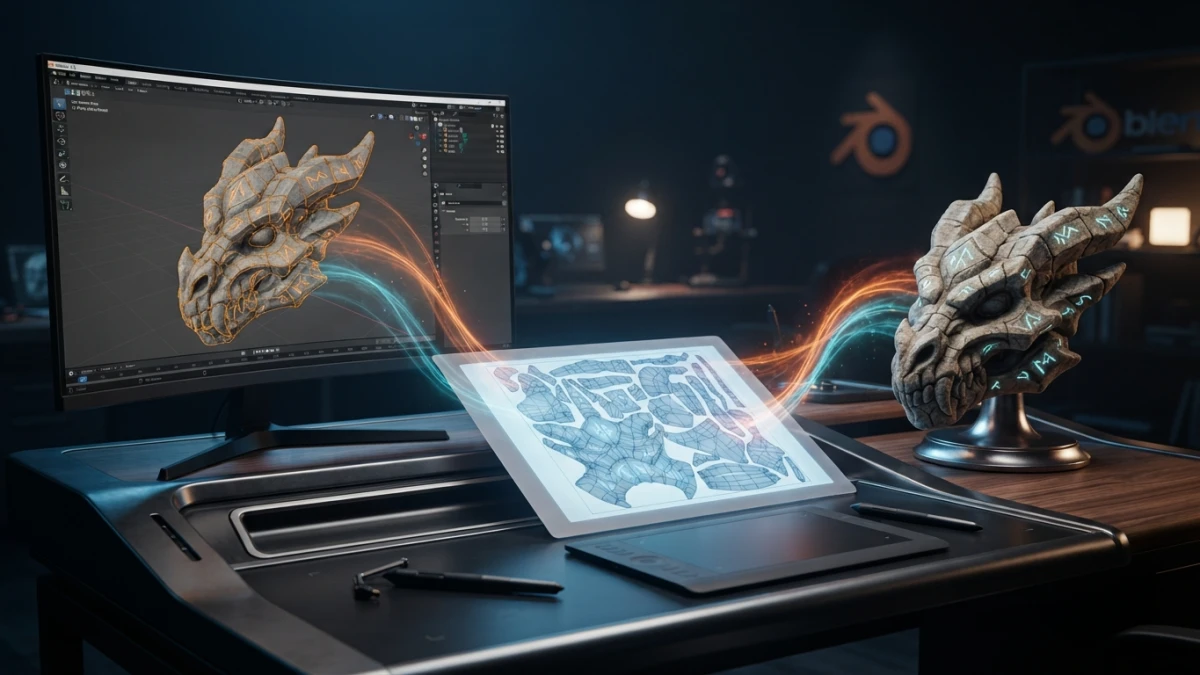
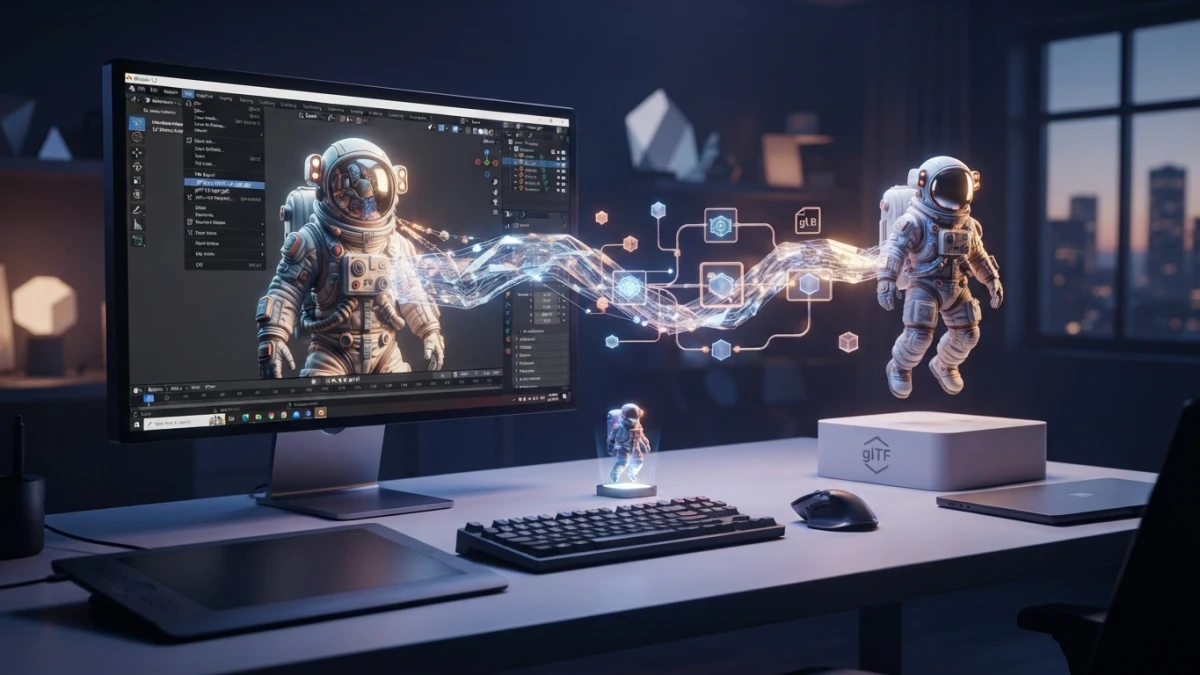
Image Resolution and Material Texture Slots
For a character or prop seen up close, 2048x2048 is a comfortable starting point; 1024 is enough for small objects or backgrounds. If you plan to export the model to the web, keep the final file weight in mind, because the texture gets packed with it. Alternatively, Texture Paint mode has its own texture slots: you can add an image from the sidebar without touching the node editor, and Blender uses it directly for painting.
Entering Texture Paint Mode in the 3D Viewport
With the image created, switch the 3D editor mode from Object Mode to Texture Paint in the mode selector at the viewport header. The model gets colored automatically with the texture and you can start painting with the Draw brush, the one selected by default. If you want to verify the unwrap first, paint a color grid in the UV Editor and watch how it projects onto the mesh.
The Brushes in Blender 5.2
Draw, Soften, Smear, Clone, Fill, and Mask: When to Use Each
Blender ships with six texture brushes ready to go. Draw paints with the active color, the workhorse for the base. Soften smooths edges and blends areas, ideal for fading shadows. Smear smudges the color as if you dragged wet paint with a finger. Clone copies pixels from another area or object, perfect for reusing a detail. Fill fills regions: with LMB and drag you define the gradient line or the radius depending on the fill mode. And Mask masks areas to protect them from the active brush.
Key Settings: Radius, Strength, Spacing, and Tablet Pressure
The settings you will use most are radius (brush size), strength (stroke opacity), and spacing (distance between brush stamps; low values give continuous strokes, high values create dotted effects). If you use a graphics tablet, enable pressure so the radius or strength varies with how hard you press: that is the difference between a flat result and one with character.
Brush Textures for Patterns and Details
A brush can carry a grayscale texture that modulates the stroke, creating skin, wear, or fabric patterns instead of a uniform blob. Configure it in the Texture tab of the brush settings: load an image and the stroke stamps with its luminance variation, which speeds up repetitive detail work enormously.
A Real Workflow: From Stroke to Detail
Painting in the UV Editor and the 3D Viewport at the Same Time
The usual setup keeps the UV Editor open next to the 3D viewport. When you paint on the model, you see in real time which part of the image you are touching, and you can retouch directly in the image to fix fine details that slip away in 3D. That is the combination professionals use: the 3D view for the global stroke and the UV Editor for fine pixels.
The Stencil Brush: Projecting Images onto the Model
The Stencil brush projects an image onto the model as a reference or as a guide for painting. You load the image, scale, rotate, and position it over the surface, and the stroke is applied respecting that fit. It is the fastest way to paint a logo, a tattoo, or any detail that must land exactly in one spot.
Seams and Bleed
Why Lines Appear at UV Island Borders
The classic painting problem: when pixels are interpolated at the borders of UV islands, visible lines appear at the model's seams, especially when zooming out or in high-contrast areas. It is not that you painted badly: the texture is stretching right at the limit of each island.
Bleed in Texture Paint and Baking: The Fix
The documented fix is enabling bleed in the Texture Paint toolbar: Blender extends the paint a few pixels beyond the UV coordinate borders, so interpolation shows no gap. The same applies when baking textures: turn on bleed in the bake settings so the islands blend without lines.
Saving the Texture and Using External Editors
Saving the Image Inside the .blend and Exporting It
The painted image lives inside the .blend file: it is saved automatically when you save the project, so nothing gets lost. To use it outside Blender, open it in the Image Editor and use Image > Save or Save As to export it as PNG. If you only need the texture inside the project, there is nothing else to do.
The Krita or Photoshop Round-Trip
For fine retouching, many artists export the image, work on it in Krita or Photoshop, and load it back into the Image Texture node; the official manual documents this external-editor workflow. The trick is to always save in the same format and size, then reload the image in Blender (Image > Reload) to see the changes instantly.
Blender 5.2 News for Painting
Texture Cache: Less Memory with Many Textures
Blender 5.2 LTS, released on July 14, 2026, introduces the Texture Cache: in scenes with many image textures it significantly reduces memory usage and startup time by automatically generating smaller, optimized versions of the textures. If your scene stacks dozens of images, you will notice the difference while painting and navigating the viewport.
Beyond Basic Painting
Baking Textures from the Material
Once the result looks right, you can bake it: baking converts the material (nodes, lights, occlusions) into a fixed texture image. It is the bridge between painting and rendering or exporting, and with the glTF export guide on this blog you can take that textured model to the web.
Paint Layers with the Ucupaint Add-on
Blender does not ship native layers in Texture Paint like Photoshop does. The community alternative is Ucupaint: it stacks images, textures, and vertex colors with masks for Eevee and Cycles, with baking support. If your workflow depends on layers, it is worth installing from the official extensions.
Blender Studio's Brushstroke Tools: Painterly Finishes
For stylized finishes, the Blender Studio publishes Brushstroke Tools, an official toolset for a painterly 3D brush flow aimed at producing assets with an artistic look. It is the next level if you want your textures to really look hand-painted.
Known Limitations of Texture Paint
It is worth knowing the mode's limits before committing to it. Performance can suffer with very large textures or dense meshes, the available blend modes are more limited than those of an image editor, and texture slots have specific restrictions depending on texture type. For heavy work, the professional path is still painting in Blender and refining in an external editor or with Ucupaint layers.
Conclusion
Texture Paint in Blender 5.2 turns your model into a canvas: with a clean UV map, an Image Texture node, and paint mode, you go from the first stroke to a natural, saved texture in minutes. Start with a stylized character, lay down the base with Draw, soften with Soften, and finish the details with stencils and brush textures. If this is your first contact with texturing, review the UV mapping guide first, and when the result is ready, take it to the web with glTF. Keep reading the blog: a new 3D design tutorial lands every week.














