
UV Mapping in Blender 5.2: From Seams to Texture Baking

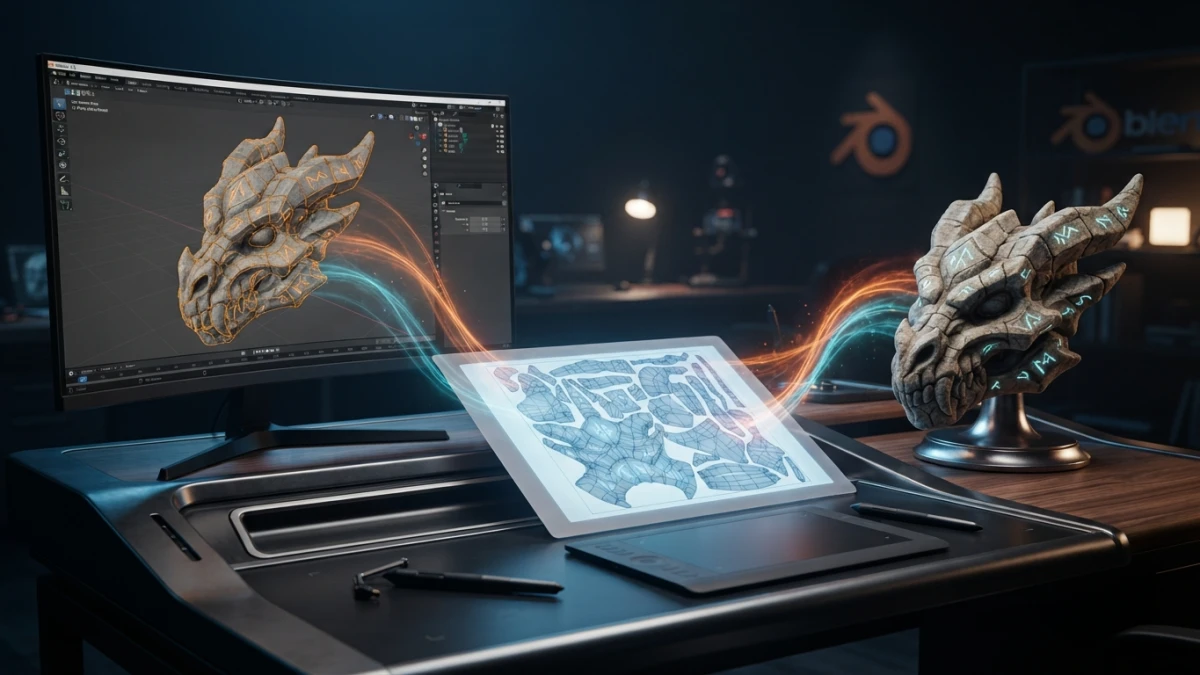
A stretched, blurry, or visibly seamed texture is almost never the image's fault but the UV mapping's. In Blender 5.2 the seams, unwrap, packing, and baking flow solves 90% of cases, and this guide walks it from start to finish with a real model.
What UV Mapping Is and Why It Matters
UV mapping is the projection of a 3D mesh's surface onto a 2D plane: the texture image. Each mesh vertex receives U and V coordinates that say which part of the image belongs to it. If that projection is badly planned, any texture, no matter how good, will look distorted. That is why mastering this flow is the first step to texturing well.
From the 3D Mesh to the 2D Texture Plane
Think of unfolding a cardboard box: you cut along some edges and lay it flat on the table. UVs are exactly that, but with your model's geometry. The object's faces end up spread across the image as islands, and each island can be moved, rotated, or scaled without touching the 3D mesh.
Blender 5.2 LTS: Context and UV News
Blender 5.2 LTS, released on July 14, 2026, is the first long-term support version of the 5.x series, maintained until July 2028. Its release notes dedicate a section to Modeling & UV and fix a 5.1 performance regression when accessing UV vectors from Python. If you are coming from 5.0 or 5.1, the UV workflow you will see here is the same, but with those improvements underneath.
Preparing the Model Before Unwrapping
A good unwrap starts before you touch the Unwrap operator. The starting geometry conditions the quality of the map, so two things about the model are worth checking.
Light Retopology and Applied Scale
Meshes with reasonably regular quads unfold better than those dragging long triangles or ngons. You do not need a full retopology: just clean up the problem areas. Also, apply the object's scale with Ctrl+A before unwrapping, because the map's distortion is computed over the geometry's real size, and an unapplied scale produces distorted islands.
Why Unwrap When the Geometry Is Final
Blender's manual recommends unwrapping when only minor geometry tweaks remain. If you add faces or subdivide afterwards, Blender adds them to the existing map, but those areas may need remapping. Texturing before the model is final means redoing part of the work.
Marking Seams: Where to Cut the Mesh
Seams are the edges along which Blender "cuts" the surface so it can be laid flat. Choosing them well is the difference between a clean map and one full of visible seams.
Edge Select and Mark Seam
In Edit Mode, with edge selection active, select the strategic edges and use Ctrl+E to open the Edge menu and choose Mark Seam. Marked edges are drawn in orange. To undo one, use Edge Unmark Seam. The shortcut is also in the 3D viewport's UV menu.
Rules for Seams That Don't Show
Place cuts where they will not draw attention: natural folds, material boundaries, the back of a piece, or where the geometry already has an edge. On a character, seams hide under the chin, behind the ears, or along the hairline. Avoid cutting across a flat, visible face: there the seam will always show.
Unwrap: Angle Based vs Conformal
With the seams marked, select the whole mesh in Edit Mode and press U to open the UV menu, where the main operator lives.
The Unwrap Operator and Its Options
The Unwrap option unfolds the mesh following the seams with the algorithm chosen in the adjust panel (F6). Angle Based usually gives less distortion on organic, curved models because it distributes area better. Conformal respects face angles more and works well on hard, mechanical pieces. The practical rule is to try both with a checker texture and keep the one that deforms the cells less.
Pinning: Fixing Vertices to Control Distortion
When a specific area stretches, you can pin vertices in the UV Editor (select them and press P) so the next unwrap treats them as anchors. Blender unfolds the rest of the mesh around those fixed points, letting you prioritize the area you care about most, like a character's face, at the cost of slightly deforming secondary zones.
Quick Alternatives: Smart UV Project and Projections
Not everything needs hand-placed seams. Smart UV Project breaks the mesh down automatically by face angles and packs the result; it is perfect for mechanical pieces, props, or models where small distortion does not matter. For simple objects, the direct projections in the U menu (plane, cube, cylinder, sphere) give an acceptable map in seconds: a cylinder for a mug, a sphere for a ball. The choice depends on the shape and on how much control you need.
The UV Editor: Packing and Checking Distortion
The UV Editing workspace shows the 3D viewport on the left and the UV Editor on the right. This is where you check the map's quality and tune the packing before painting.
The Checker Texture and Texel Density
Create a material with a checker texture and apply it to the model: if the cells come out square and uniform, the map is fine; if they come out stretched or unevenly sized, there is distortion or uneven density. Texel density measures how many texture pixels touch per mesh unit; keeping it similar across islands avoids some areas looking blurry and others oversampled.
Island Packing and Margins
In the UV Editor, the UV menu offers Pack Islands, which rearranges and scales the islands to make the best use of the canvas. Adjust the margin between islands to keep pixels from one bleeding into its neighbor when painting or baking; a small margin is enough on large textures, and you should raise it on atlases with many small islands.
From UVs to Texture: Texture Paint and Baking
With a clean map, the next step is adding color. Blender offers two paths: painting directly or transferring the existing materials to an image.
Exporting the UV Layout as a Guide
Before painting, export the layout as a reference: in the UV Editor, UV > Export UV Layout generates an image with the islands drawn. It works as a template in any image editor or as a guide layer inside Texture Paint itself, so you always know where each part of the model is.
Baking in Cycles: From Materials to Image
If the model already has materials (nodes, color, roughness), you can bake them to a texture: create an image in the UV Editor, select the object, and in Render Properties choose Bake with Cycles and the Diffuse type (or Combined). Blender computes the lighting and materials of each island and writes them to the image according to the active UV map. The result is a portable texture that works in any engine, ideal for games or for simplifying the scene.
Common Mistakes and How to Fix Them
The most common failures have quick fixes. Stretched texture: check the object's applied scale and redo the unwrap. Uneven checker cells: match the texel density or rescale islands in the UV Editor. Visible seams: move the seams to less exposed areas or use clone painting to hide the border. Overlapping islands: use Pack Islands with a margin and check there are no duplicate faces on the same map area.
Conclusion
UV mapping is the foundation of serious texturing in Blender, and the seams, unwrap, packing, and baking flow you have seen in Blender 5.2 turns a bare model into a piece ready to paint or export. Practice with a simple object until the checker comes out perfect, and the rest of the process becomes far more predictable. If you want to keep improving your materials, this blog already has guides on procedural materials and on the differences between Cycles and EEVEE.














