
Advanced Geometry Nodes in Blender 5.2: Procedural Environment Scattering

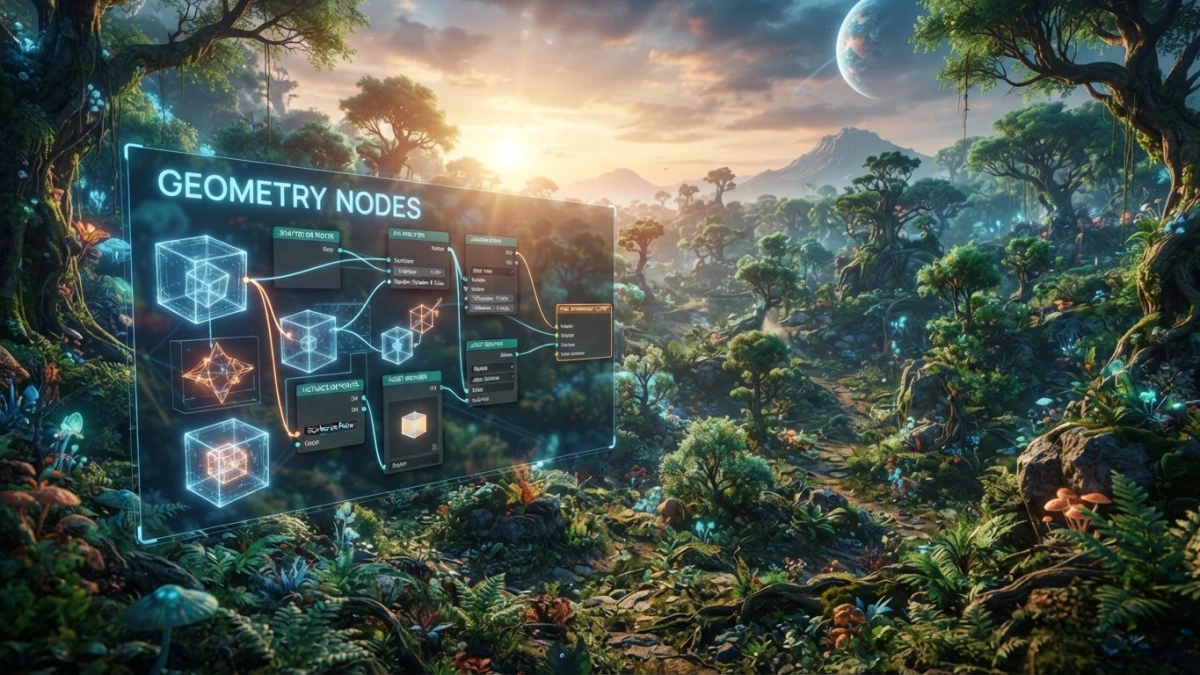
Scattering a forest by hand is hours of work you cannot easily tweak afterward. With advanced Geometry Nodes in Blender 5.2 you solve it in minutes using instances and procedural scattering, and the July 2026 LTS adds bundles and list nodes.
From Beginner to Advanced: What Changes in the Workflow
The Modifier, the Node Group, and the Data Hierarchy
This tutorial assumes you know the basics: the Geometry Nodes modifier, a node group, and the difference between geometry input and output. What changes when you move to advanced workflows is the mindset: you stop thinking in individual objects and start thinking in data flowing through the graph — points, attributes, fields, and instances — and how to transform it non-destructively so the result stays editable at any moment.
Attributes vs Fields: The Geometry Nodes Mindset
An attribute is data attached to each element of the geometry (position, normal, an arbitrary ID). A field is a function evaluated per element at runtime: when you connect a Random Value node to the scale of your instances, each instance evaluates its own value. Mastering this distinction is the key to stop wiring nodes by trial and error and start building graphs that behave the same with 100 or with 100,000 instances.
Instances: The Heart of Scattering
Why Instance Instead of Duplicating Geometry
An instance is a lightweight reference to a geometry, not a copy: a thousand instances of a tree share the same mesh in memory and the viewport stays fluid. Duplicating real geometry multiplies the cost without adding anything. This performance difference is why Geometry Nodes scattering has replaced classic duplication workflows.
Read also


Distribute Points on Faces: Density, Seed, and Poisson Disk
The scattering flow starts at Distribute Points on Faces, which spreads points over the mesh surface. The two parameters you will tweak the most: density (points per area) and seed, which changes the whole distribution in a reproducible way — perfect for iterating until you find the right composition. The Poisson Disk mode keeps a minimum distance between points, preventing instances from overlapping in dense areas.
Instance on Points and Collection Info for Multiple Objects
Instance on Points places an instance on each distributed point, and Collection Info lets you instance several objects at once: connect a collection with your grass, rocks, and trees, and enable Pick Instance so each point picks one of the collection's objects. With that, a single graph generates a whole ecosystem.
Controlling Rotation, Scale, and Selection
Align Rotation to Vector: The Successor of Align Euler to Vector
For objects to follow the surface, their rotation must align with the point's normal. In Blender 5.x the Align Euler to Vector node is deprecated and replaced by Align Rotation to Vector, which aligns the instance's rotation with a vector — typically the normal captured from Distribute Points on Faces. If you come from older tutorials, this is the first change you will notice when setting up your graph.
Read also


Random Value for Per-Point Scale and Rotation
A realistic scatter does not have identical objects. Connect a Random Value to the scale to break uniformity (values between 0.7 and 1.3, for instance) and another to the Z rotation so each instance faces a different direction. Since every point evaluates its own field value, variety comes for free and the result stops looking like a grid.
Noise Masks for Variable Density
Nature distributes nothing uniformly. A noise node connected to the selection of Distribute Points creates dense and empty areas: multiply the noise by the base density and you get clearings and thick forests without adding a single extra node. Combined with the noise scale parameter, you control the size of the clearings to your liking.
Example 1: A Meadow with Grass, Rocks, and Trees
Base Terrain and Height-Based Distribution with Capture Attribute
The guiding example: a meadow on a rolling terrain. You distribute points over the ground and use Capture Attribute to capture the height (or normal) of each point before the graph transforms it. With that captured value you build the height-based selection: grass across the whole terrain, rocks only in the low areas, and trees only on slopes with the right orientation. Capturing the attribute at the right moment is what keeps the selection from breaking when the geometry changes.
Realize Instances: When to Use It and When Not To
Realize Instances converts each instance into real, editable, exportable geometry — and that is exactly why it must be used with care: the memory and viewport cost skyrockets. Use it only when you need to edit the individual geometry (deform, cut, export to another format) and keep everything else as instances. The practical rule: if you do not need to touch each object's geometry, do not realize the instances.
Example 2: A Procedural Scene with Bundles in 5.2
What a Bundle Is and How to Attach It to Geometry
Geometry bundles were introduced in Blender 5.0, and in 5.2 they can be attached to any geometry: they are packages of arbitrary data — even fields and closures — that travel along with the geometry. Think of them as a suitcase that follows the mesh: you can store an identifier, a color, any data, and retrieve it later without intermediate nodes.
Passing Data Between Objects and Modifiers with Bundles
The point of bundles in 5.2 is that they cross boundaries: a bundle attached to one object's geometry can be read from another object or another modifier. In practice, a small scene can pass a color or an ID from one object to another — for example, so a building's material reads its plot identifier — and to locate nested bundles in the hierarchy there is the Get Nested Bundle Paths node, which searches recursively through nested bundles.
The First List Nodes: Field to List and Friends
Blender 5.2 debuts the first core nodes for working with lists, a brand-new system expected to grow in future versions. The clearest example is Field to List, which creates a list with a given length by evaluating fields that can depend on the Index node. There are only a few nodes so far, but they show the direction: batch operations that previously required tricks now have an explicit data path.
Baking and Performance for Production
Baking the Result and Node Groups as Assets
When the scatter is not going to change — or when you need the result for a long render or for other software — bake it. Baking turns the graph evaluation into fixed data, removing the cost of recalculating everything on every frame. And to reuse your graphs across projects, save the node group as an asset: it becomes part of your library and you drag it into any scene.
Geometry Nodes Asset Catalogs in the Add Menu (5.2)
In 5.2, asset catalogs containing Geometry Nodes node groups also appear directly in the Add menu: if you place your catalogs inside a top-level "Geometry Nodes" catalog, they show up without a submenu, with access as direct as any native node. Your library stops being a separate file and integrates into the creation flow.
Performance Tips: Instances, Density, and Viewport
The official 5.2 manual dedicates a full section to performance, and its rules match practice: keep instances unrealized, adjust density and seed before the object count, and control viewport display when the scatter is very dense. If the result is final, baking removes the evaluation cost entirely. With these three levers, a meadow of a hundred thousand instances stays editable without freezing the scene.
Conclusion
Scattering with Geometry Nodes turns hours of manual placement into a parameterized graph: lightweight instances, per-field rotation and scale, noise masks and, in Blender 5.2, bundles and list nodes for the most demanding flows. If you are just starting, the beginner's Geometry Nodes post gives you the foundation, and the blog also covers particles and hair compared with instances, node-based cloth simulation, and glTF export for taking your scenes to the web.














