
How to Bake Procedural Materials to Textures in Blender 5.2 (EEVEE, Unity, or glTF)

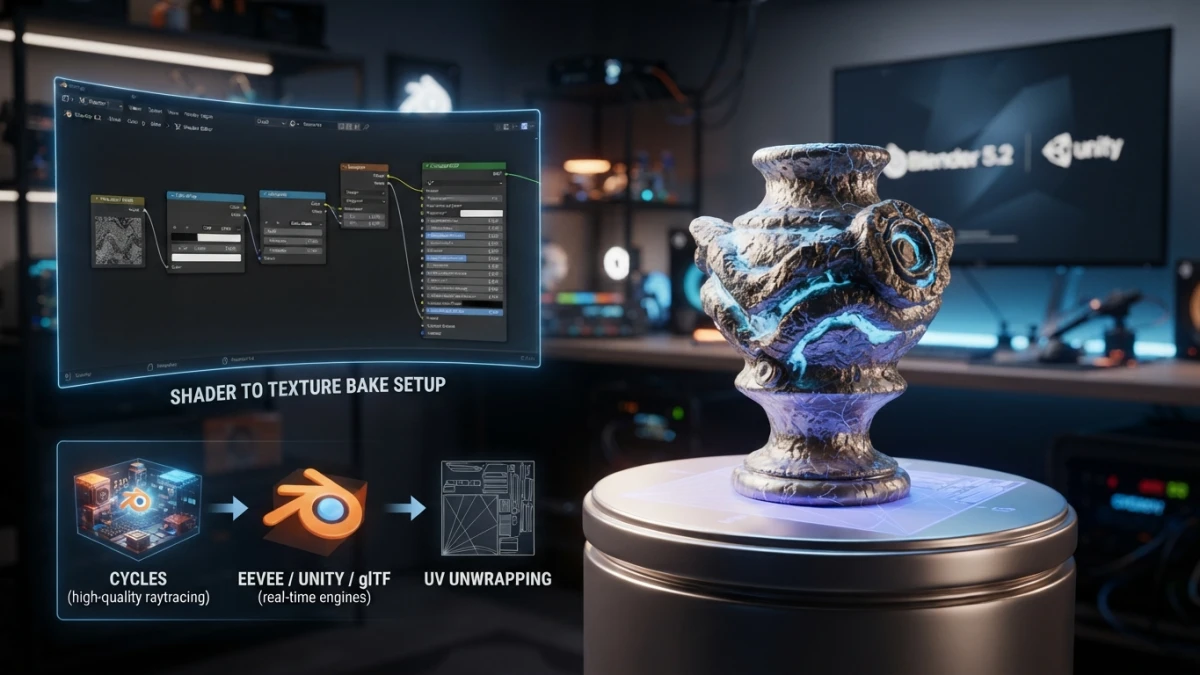
Your procedural material looks great in Cycles and breaks the moment you take it to a game engine, the web, or EEVEE: node shaders do not travel, textures do. PBR texture baking in Blender 5.2 turns that node network into maps any engine understands.
This guide walks the full workflow: preparing the UVs, configuring the bake in Cycles, and baking every map of the PBR set until you reconnect and export.
What Texture Baking Is and When You Need It
Baking means Blender computes the shading of a material and stores it as texture images painted over the UV layout of the model. Instead of exporting a node network only Blender can interpret, you export a standard map set that any real-time program consumes. It is the bridge between the Cycles viewport and the real world of assets: EEVEE, Unity, Unreal, Godot, or a website running glTF.
Why Procedural Materials Do Not Travel Outside Blender
A procedural material is a recipe: noise, coordinates, mix layers, and nodes evaluated at render time. External engines do not understand that recipe, and even when Blender exports an approximation, the result usually looks different or simply fails to export. A texture, on the other hand, is a file of pixels: base color, normal, or roughness. Every engine reads that file the same way.
What a PBR Map Set Is and What Each Map Does
The standard PBR set for real time is made of base color (the albedo, diffuse color with no lighting), metallic (a mask that says what is metal), roughness (from 0 smooth to 1 rough), a normal map in tangent space (micro-surface detail), and ambient occlusion (contact shadows in grays). Optionally you add emission or height. Each map is baked separately with its own bake type.
Baking to Unify Materials, Cut Weight, and Gain Consistency
Besides converting procedural materials, baking solves two more problems: unifying ten materials into a single texture set and cutting scene weight. A model with one textured material weighs less and renders faster in real time than one packed with complex shaders, and the result looks identical on every platform. If you want a refresher on texture concepts before baking, the post about what PBR textures are gives you the foundation.
Preparation: Before You Press Bake
Baking is not a magic button: the setup you do beforehand decides whether the result comes out clean or full of artifacts. Check these four points before you touch the Bake panel.
The Engine: Cycles, the Baking Engine of the Official Manual
Baking is configured inside Cycles: the Bake section of the official Blender manual lives under Render with Cycles active. EEVEE is real time and consumes textures, but it does not bake the full set; that is why the standard workflow is to switch to Cycles, generate the maps, and return to EEVEE or export. If you need to review the differences between engines, the Cycles vs EEVEE comparison on this blog covers them.
UVs with Margin: Why Every Island Needs Breathing Room
Baking paints over the UVs of the model, so you need a proper unwrap, with proportional islands and no overlaps. The detail almost nobody cares about is the air between islands: the margin you later set in the bake extends the border pixels, and without that air seams appear. If you are starting from zero with UV unwrapping, the UV mapping tutorial on this blog brings you up to speed; here I assume the unwrap is done.
Creating Target Images: Resolution, Size, and Format
For each map you create a new image (Image New) at the resolution the asset needs: 2048 by 2048 for a general-purpose object and 4096 by 4096 for hero pieces. That image must be connected to an image node in the target material, and the node has to stay selected as active: baking writes exactly there.
The Target Material and the Active Image Node
If the model has several materials, you can bake over each one or create a single target material with as many image nodes as maps you plan to generate. The rule that prevents ninety percent of black bakes is simple: create the target image, connect it to the node, and keep that node selected before pressing Bake.
The Bake Panel in Cycles: Correct Settings
With Cycles active and the model selected, the Bake panel appears in the Render properties. There you choose the bake type, the margin, and the quality, and you launch the process for each map.
Bake Types: Diffuse/Base Color, Roughness, Metallic, Normal, AO, Emission
The panel offers types such as Diffuse, Glossy, Transmission, Normal, Ambient Occlusion, Emission, or Combined. For a PBR set you bake each map with its own type: Diffuse for base color, Roughness and Metallic for the data maps, Normal for detail, Ambient Occlusion for contact shadows, and Emission if the material emits light. The Combined type works as an overview but does not generate separate maps.
Margin in Pixels: Your Best Friend against Seams
The Margin field (in pixels) extends the color of each island outward so border sampling leaves no holes. With 2048 images, 8 to 16 pixels is usually enough; with 4096 you can go a bit higher. When a bake shows visible lines at the joints, the first answer is to raise the margin.
Samples, Denoising, and the Quality-Time Trade-Off
Baking uses the same sample settings as a Cycles render: more samples give cleaner maps and take longer. For data maps such as roughness or normal, which are almost instant, few samples are enough; base color with complex shading asks for more. Enabling render denoising helps clean the result without raising the samples.
Selected to Active and the Cage: From High-Poly to Low-Poly
The Selected to Active option projects detail from a selected mesh (the sculpted high-poly) onto the active mesh (the optimized low-poly): with the low-poly active and the high-poly selected, Blender casts rays between both to capture normals, color, or AO. The cage, enabled from the same panel, controls the distance from which those rays are cast and prevents artifacts when the two meshes are not perfectly aligned.
Baking Each PBR Map Step by Step
With a generic example, a rock with a worn procedural material, the flow is always the same: select the bake type, confirm that the active image node is the one for the current map, and press Bake. Repeat the operation for every map and save each image with its name and color space.
Base Color: The Albedo with No Lighting
The first map is base color: bake the Diffuse type and you get the albedo of the material, without highlights or direct light. It is the texture connected to the base color of the shader and the one that defines the visual identity of the asset.
Metallic and Roughness: The Data Maps
Metallic and roughness are data maps: they store values, not colors. They are baked with their own types and connected to the inputs with the same names. In the target material, these textures do not carry the color of the metal: they carry the mask that says where the metal is and the level of roughness.
Normal Map in Tangent Space: The Surface Detail
The normal map captures micro-surface detail: cracks, pores, or reliefs the high-poly has and the low-poly does not. It is baked in tangent space and connected to the Normal input of the shader through a Normal Map node. It is the map that causes the most trouble when misconfigured, and almost always because of the color space.
Ambient Occlusion and Emission: The Extra Depth
The Ambient Occlusion map stores contact shadows in grays and can be multiplied over the base color or used as a standalone texture. If the material emits light, the Emission map stores that glow so the asset keeps it in real time.
Saving the Maps: PNG or EXR, with the Correct Color Space
Each baked image is saved with Image Save As. PNG is the usual format for real time and the web; EXR holds more dynamic range for emission or layered work. The critical rule is the color space of every file: normal maps, roughness, and metallic are marked as Non-Color; base color and emission go in sRGB. A normal map saved as sRGB looks flat or inverted, and that mistake cannot be fixed later.
Reconnecting and Exporting
When every map is saved, it is time to rebuild the material from them and take the asset to its destination engine.
Connecting Baked Maps to the Principled BSDF (or OpenPBR in 5.2)
In the final material, each texture is loaded and connected to its input: base color to the color, metallic to Metallic, roughness to Roughness, and the normal map through the Normal Map node. In Blender 5.2 the modern shader is the OpenPBR node, the open standard for PBR surfaces that real-time engines and glTF consume, with the same main inputs as the classic Principled BSDF.
From Blender to EEVEE: The Same Material, Now Real-Time
You switch back to EEVEE and the model looks practically the same as in Cycles, because the material is now a set of standard textures that the real-time engine understands without computing anything. That consistency is the whole point of the process: one asset, one look, in any engine.
Exporting the Set to Unity, Unreal, Godot, or glTF/GLB
The baked set exports with the normal tools of each engine: in Unity or Unreal you import the model with its textures and connect them in the PBR shader; in Godot, the same with its import pipeline. For the web, the natural output is glTF/GLB, which packs the model and its maps into a single file; if you export from Blender to the web, the glTF/GLB tutorial on this blog covers that final step.
Troubleshooting: Why Your Bake Goes Wrong
When baking fails, it is almost always one of these four culprits. The checklist orders them from most to least common.
Black or Empty Image: Inactive Node, Broken UVs, or Wrong Bake Type
The image comes out black when the active image node is not selected, when the material has no valid UVs, or when you bake a type the material does not emit: an Emission bake over a material with no emission is black by definition. Also check that the object is selected and is the active one.
Visible Seams: Raise the Margin or Check the Padding
Lines at island joints are a margin problem: the border pixels do not cover the neighboring samples. Raise the Margin of the bake or use the exporter padding when generating the final atlas.
The Normal Map Looks Flat or Inverted: Color Space and Tangents
A flat or inverted normal map is almost always a color space problem: the texture must be marked as Non-Color, not sRGB. If the issue persists, check the tangent space of the bake and the orientation of the UVs, because a rotated island inverts its normals.
Cage Artifacts: Distances, Rays, and Geometry
With Selected to Active, weird blotches or holes usually come from the cage: if the projection distance is short and the meshes separate, the rays get lost. Raise the cage distance or check that the low-poly stays inside the high-poly envelope in every area.
Conclusion
PBR texture baking in Blender 5.2 is the skill that separates assets that only look good in the viewport from assets that work in production: prepare UVs with margin, bake each map in Cycles with its own type and the correct color space, and reconnect the set to the final material for EEVEE, games, or glTF. With this workflow, your next procedural material stops being a promise that breaks on export and becomes a texture set that travels to any platform. If you want more Blender 5.2, keep reading the blog: there are guides on procedural materials, UV mapping, and web export waiting for you.














