
Animation in Blender 5.2: Keyframes, the Dope Sheet, and the Graph Editor from Scratch

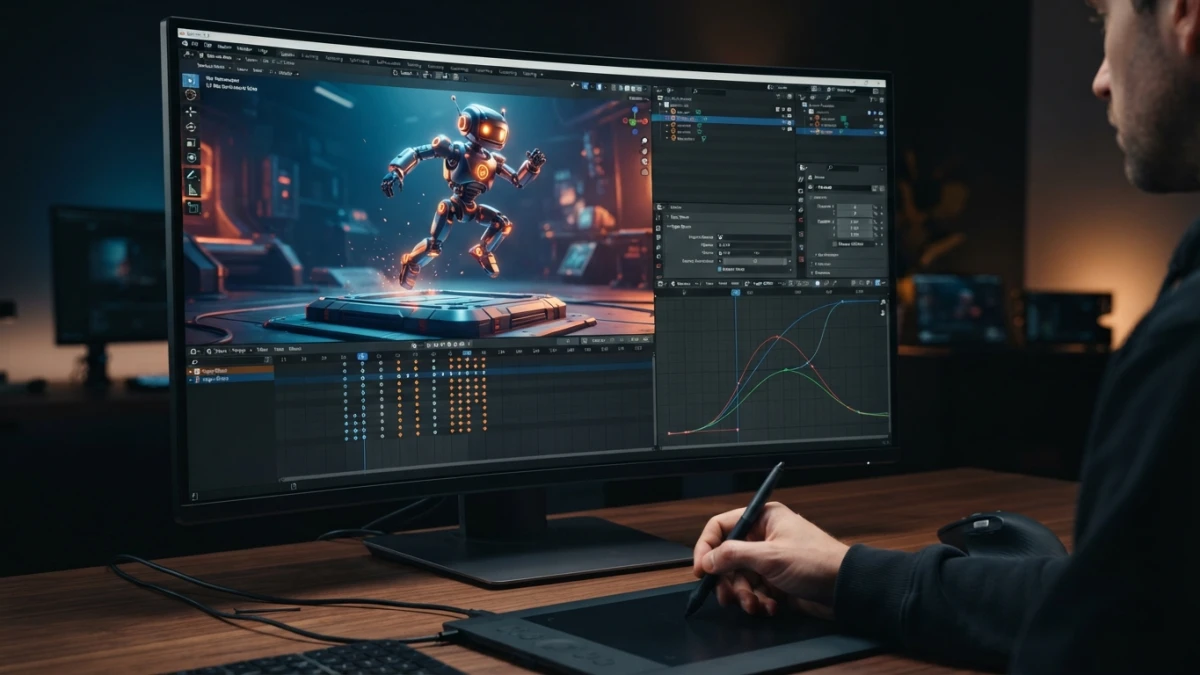
Animating in Blender 5.2 is not about moving objects by hand frame by frame: it is about understanding keyframes, interpolation, and the editors that control them. Blender 5.2 LTS, released on July 14, 2026 with support until July 2028, keeps the classic workflow: the I key inserts the pose, the Dope Sheet organizes it, and the Graph Editor refines it. With that, and only that, you can animate.
What Animating in Blender Is: The Keyframe → Editor → Render Flow
Keyframes and Interpolation: The Core Idea
A keyframe is a point that stores the value of a property — position, rotation, or scale — at a specific frame. When you have two keyframes with different values, Blender calculates every value in between automatically: that is interpolation, and it is what turns two static poses into motion. You do not need to draw anything by hand: you define the key moments and the software fills in the rest.
The Editors You Need to Know: Timeline, Dope Sheet, and Graph Editor
The animation workflow is split across three editors. The Timeline is the basic time strip: it shows the keyframes of the active object and lets you scrub through frames. The Dope Sheet shows them all as blocks, perfect for reorganizing time. And the Graph Editor turns each property into a curve, the F-curve, where you can fine-tune the speed of motion. Learning to move between these three editors is learning to animate.
Your First Animation in Blender 5.2: The Bouncing Ball
The classic bouncing ball exercise covers the whole cycle. Add a UV Sphere to the scene (Shift+A, Mesh, UV Sphere) and place it on frame 1 about 4 meters above the ground. With the cursor over the 3D viewport, press I and choose Location: you have just saved your first keyframe.
Inserting Keyframes with I and Auto Keying
The I key opens the keyframe insertion menu; from there you choose which properties to save (Location, Rotation, Scale, or all three). The shortcut works in the 3D viewport, but also in the Dope Sheet and the Graph Editor. If you enable auto keying, the red key button in the Timeline header, Blender saves a keyframe every time you change a property on a new frame, without pressing I. It is handy for fast iteration, but turn it off when you want full control.
Default Bezier Interpolation and How to Control It
By default, Blender interpolates between keyframes with Bezier curves: motion eases in and out smoothly. That is not enough for a bouncing ball, because the impact needs a sharp change of direction. Press T in the Graph Editor with the keyframes selected and switch the interpolation to Linear for the fall and rise sections, or adjust the handles by hand so the bounce reads naturally.
Squash and Stretch with Scale Keyframes
Squash and stretch, one of the twelve principles of animation, gives the ball weight. On the impact frame, scale the ball flat (for example, 1.3 on X and Y and 0.7 on Z) and insert a scale keyframe; on the frames just before and after, stretch it slightly along the vertical axis. Alternate these values on every bounce and the ball will stop looking like a mathematical point.
The Dope Sheet: Organize Your Keyframes
As the animation grows, the Timeline gets cramped. The Dope Sheet shows every keyframe of every object in a bar view, and that is where serious time editing begins.
Moving, Duplicating, and Scaling Keyframes as a Block
Select a group of keyframes with B (box select) and move them with G, duplicate them with Shift+D, or scale them with S to compress or stretch the duration of the motion. This ability to operate on whole blocks is what makes the Dope Sheet so powerful: adjusting the rhythm of an entire scene becomes a matter of moving a few bars.
The Action Editor and Reusable Actions
The Dope Sheet's Action Editor mode stores animations as independent actions. You can keep one action for the ball's bounce and another for its rotation, then combine or reuse them on other objects. It is the first step toward building your own animation library.
The Graph Editor: From Keyframe to Curve
F-Curves: Position, Handles, and Easing
The Graph Editor turns every animated property into a curve: the horizontal axis is time and the vertical axis is the value. Each keyframe is a point on the curve with two handles, and the shape of those handles defines the speed of the motion. A flat handle produces smooth easing; a steep handle, fast movement. Mastering F-curves is mastering timing.
Smoothing Motion with Curve Interpolation
If a movement feels robotic, the problem is usually in the curve, not in the values. Select the keyframes and try the interpolations in the T menu: Bezier for smoothness, Linear for constant speed, or Constant for instant changes. You can also add a cycle modifier from the curve menu to repeat a pattern without adding keyframes.
The Pendulum: Timing and Easing in Practice
The pendulum is the second classic exercise and the best way to train your eye. Create an elongated object, set its origin at the pivot point, the top end, and rotate it about 30 degrees on frame 1. Insert a rotation keyframe, go to frame 25, bring it back to 0 degrees, and save another keyframe. Repeat on frame 50 to the opposite side and on frame 75 back to center. Now open the Graph Editor and study the curves: a real pendulum loses energy, so the angles must decrease with each swing and the curves should ease at the extremes. Adjust the handles until the motion feels heavy.
The NLA Editor: Combine and Repeat Animations
Action Strips and Loops Without Duplicating Keyframes
The NLA Editor (Non-Linear Animation) organizes actions as strips on a non-destructive timeline. Save the ball's bounce as an action, drag it into the NLA, and duplicate the strip as many times as you need bounces: the loop is built without duplicating a single keyframe. You can also blend strips, one for motion and one for rotation, and adjust their weights and overlaps to create variations.
Rendering the Animation: From Viewport to Video
When the animation is ready, go to the Output panel in the properties. Choose FFmpeg as the video format and a codec such as H.264, set the frame range (Start and End), and press Render Animation (Ctrl+F12). Blender will export the whole sequence as a video file ready to review or share.
What Blender 5.2 LTS Adds to the Animation Workflow
Blender 5.2 LTS does not reinvent keyframing: it consolidates it. It is the first long-term support release of the 5.x series, with updates guaranteed until July 2028, and it upgrades its technical base with Python 3.13 and libraries aligned with the VFX 2026 platform. That means a stable animation workflow for the next few years of projects.
Node-Powered Physics and Online Asset Libraries
Two 5.2 features touch animation directly. Node-powered physics lets you build simulations by connecting nodes, opening the door to procedural animations that coexist with traditional keyframes. And the online asset libraries make it possible to share and reuse actions and rigs across projects and teams, turning your animation library into something collaborative.
Conclusion
Keyframes, the Dope Sheet, and the Graph Editor are the three tools that support all animation in Blender 5.2, and with the bouncing ball and pendulum exercises you now have the foundation to animate any object, camera, or light. The natural next step is applying these fundamentals to characters with rigging, a topic we have already covered on the blog, along with the lighting and node physics of this same 5.2 series. Keep reading and put what you have learned into practice.














