
Low-Poly Modeling in Blender 5.2: Create Stylized Characters from Scratch

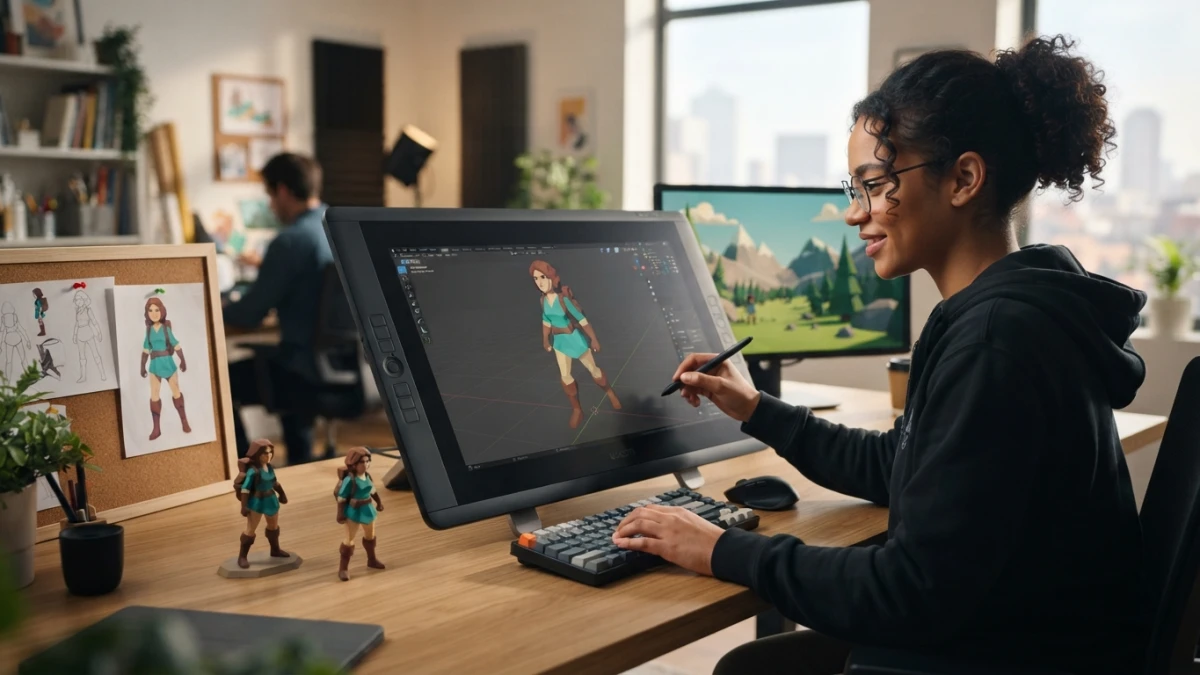
Low-poly modeling of a ~2,000-tri character with flat shading can be completed in an afternoon, and the result reads as stylized art rather than an unfinished model. Blender 5.2 LTS ships the entire pipeline with no plugins: primitives, the Mirror modifier, flat shading, and an EEVEE render.
What Low-Poly Style Is and Why It Still Works
Low-poly modeling means building objects and characters with very few polygons — on the order of hundreds or a few thousand tris — and flat shading, aiming for a deliberately stylized finish instead of realism. Far from being a technical limitation, that economy of geometry is a design decision with its own identity, and Blender 5.2 LTS supports it out of the box.
Games, Stylized Art, and Renders with Character
The style dominates indie games, prototypes, concept art, and portfolio scenes because it combines three advantages: it is fast to produce, renders in real time without effort, and communicates a recognizable aesthetic instantly. Successful titles and training studios use it as the entry point to modeling for the same reason: you learn the fundamentals without getting lost in unnecessary detail.
Fewer Polygons, More Design Decisions
With few faces there is no room for filler: every vertex has to earn its place. The character's shape, the relative size of the head, the silhouette from every angle, and the color per zone become explicit decisions. That is exactly the training you later apply to dense models.
Setting Up Blender 5.2 for Modeling
Blender 5.2.0 was released on July 14, 2026 and is the current LTS version, with support and fixes until July 2028. The release updated its core libraries following the VFX 2026 reference platform: Python 3.13, OpenColorIO 2.5, OpenEXR 3.4, and OpenVDB 13.0. Nothing you do here requires add-ons.
The Modeling Workspace and the Viewport
When Blender opens, pick the Modeling workspace from the top selector. Keep the viewport in perspective and use Solid or Material Preview shading: for low-poly, Solid is usually the most comfortable. Turn on the Statistics overlay (in the Viewport Overlays menu) so you can watch the face count while you model.
Organizing the Scene: Collections and Objects
Before you start, delete the default cube and create a collection named Character. Inside it you can model each part as its own object or, simpler for beginners, a single object with materials assigned by face zones. The Outliner keeps the scene tidy and lets you select each piece with one click.
From Cube to Character: Blocking with Primitives
Blocking is the phase where you build the overall silhouette. You start with simple primitives and deform them until you get the character's base shape. The key to low-poly style is that this phase already is the modeling: the finish comes from the geometry itself, not from post-processing.
The Mirror Modifier and Clipping Symmetry
Add a cube with Shift+A and, with it selected, go to the modifiers tab (the wrench icon) and add Mirror. You model the right half and the left half mirrors in real time as you edit. Enable the Clipping option on the modifier: it stops vertices from crossing the center axis and guarantees a sealed join with no gaps on the symmetry plane. Keep it active through the whole process; apply it at the end only if you need to.
Extrude and Scale: Body, Head, and Limbs
Enter Edit Mode with Tab. With face selection active (key 3), select the top face of the cube and extrude upward with E to form the torso, and again for the head. For the arms, extrude from the sides; for the legs, from the bottom. Use S to scale each segment and G to move it: the character is built segment by segment, like digital clay. The classic stylized proportion enlarges the head relative to the body, so do not be afraid to exaggerate.
Details That Sell the Style
The silhouette is done; now the geometry needs that clean faceted finish that defines low-poly, with crisp edges and no leftover geometry.
Small Bevels for Faceted Edges
A very small bevel (Ctrl+B and move the mouse, or the Bevel modifier with one segment) barely softens the edges. In low-poly it is used so light gets a micro-transition that avoids render artifacts, not to round the shape. If your style prefers fully hard edges, you can skip it without issue.
Loop Cuts and Clean Topology Without Filler
Ctrl+R adds loop cuts: rings of vertices that let you add volume to an area without unnecessary geometry. Use them to define the waist, shoulders, or knees. The rule is to keep the mesh quads and avoid faces with more than four vertices: clean topology is what separates a careful low-poly model from a messy one, and it makes the natural next step — rigging to animate the character — much easier.
Flat Shading and Flat-Color Materials
Shading is half the style. With the mesh finished, select it and choose Shade Flat with a right click (or Face > Shade Flat in Edit Mode). Every face now lights up separately and the faceted look appears; without this step, the model would look like a smooth, poor version of itself.
Shade Flat vs. Auto Smooth
Auto Smooth is the alternative: it keeps smooth shading except on edges that exceed an angle threshold, useful when you want facets only in specific areas. For pure low-poly, Shade Flat on the whole object is the right call; if a zone looks too harsh, raise the Auto Smooth angle only there.
Principled BSDF Materials per Color Zone
Go to Material Properties (the sphere icon) and create one new material per zone: skin, shirt, hair. Each material is a Principled BSDF where you only change the Base Color to a flat, vibrant tone; a high Roughness value avoids highlights that would break the style. Assign the materials by selecting faces in Edit Mode: each color zone is a separate material, with no UV maps or textures needed.
Optimizing the Model
A character in this style should stay in the 1,000 to 5,000 tris range. Checking and cleaning the count is part of the process, not an optional step.
Why Decimate Is Not the Low-Poly Way
The Decimate modifier reduces vertices and faces with minimal shape change, but the official Blender manual warns that it is not usually used on carefully modeled meshes, where every vertex is necessary. Decimating a dense mesh produces irregular geometry and elongated triangles that ruin the finish. Low-poly is built directly with few faces; decimate is reserved for scans or imported meshes.
Applying Modifiers and Checking the Tri Count
If you are going to export the model, apply the Mirror and the Bevel (Apply in the modifier menu). With the viewport statistics on, check the tri count: if you are over 5,000, look for loop cuts you do not need or trim segments. If you want to take it to the web or a game engine, the next step is exporting it as glTF/GLB, which we already covered in our glTF export guide.
Rendering the Result in EEVEE
EEVEE is the ideal engine for low-poly: it renders instantly and its direct lighting matches the style. In Render Properties choose EEVEE and enable Screen Space Reflections if you use materials with some gloss. If you are torn between EEVEE and Cycles, our render engine comparison will help you decide.
Simple Lighting That Respects the Style (HDRI or Three Points)
Two options work well: a studio HDRI (World Properties > Color > Environment Texture) that gives soft, even light, or a three-point setup with a warm key light, a cool fill, and a rim light behind the character. With flat, vibrant colors you need nothing more; in fact, heavy lighting can fight the aesthetic instead of helping it.
Hands-On: Your First Low-Poly Character
The challenge: model, shade, and render a complete low-poly character in a single session. Start with a cube, add Mirror with clipping, block out the silhouette with extrusions, define the zones with loop cuts, apply Shade Flat, assign three or four flat-color materials, and render in EEVEE with an HDRI. If it is your first time and the character fights back, simplify: a barrel or a low-poly tree follows the same flow and works as a warm-up. For the complete professional workflow, Blender Studio's Low Poly Character Creation workshop by Kjartan Tysdal walks the process end to end with one and a half hours of narrated videos and twelve hours of timelapses.
Conclusion
Low-poly modeling in Blender 5.2 is the shortest path between an idea and a render with character: primitives, the Mirror modifier, flat shading, and a couple of flat materials are enough for a result that looks intentional. Once the character is done, the natural next step is rigging to animate it. Keep reading the blog for more Blender 5.2 guides, from Cycles vs EEVEE to web export.














