
Compositing in Blender 5.2: Node-Based Post-Processing, Render Layers, and the New Blank Image

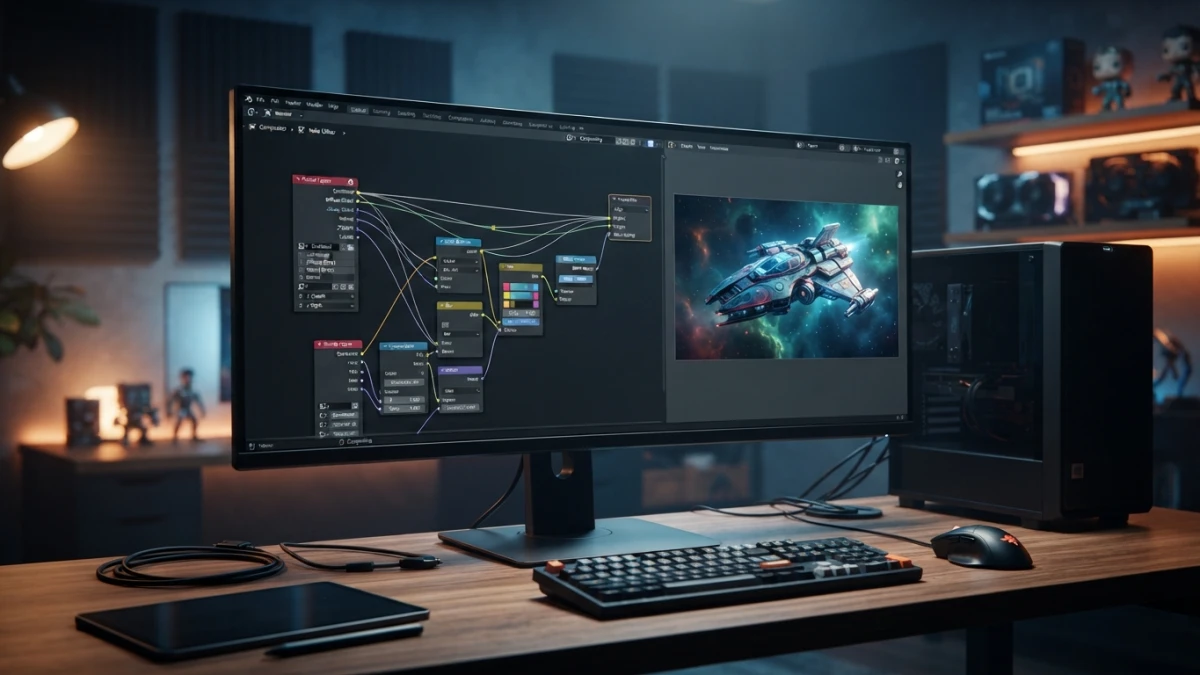
A raw Cycles or EEVEE render is rarely the final result: Blender 5.2's Compositor chains color, effect, and render pass nodes for the definitive look, and adds the new Blank Image node for backgrounds and mattes. With this compositing workflow you will learn to post-process any scene without leaving Blender.
What the Compositor Is and Why Your Render Needs It
The Compositor is Blender's post-processing node editor: it takes the rendered image and transforms it through a chain of nodes until it produces the final image. It is the same concept that Lightroom or DaVinci Resolve apply to photography and video, but integrated into the 3D pipeline, letting you refine the result without rendering again.
The Post-Processing Node Editor: From Scene to Final Image
To open it, change any editor area to Compositor. The space splits into two regions: the top shows the node tree and the bottom shows the backdrop image, which you can toggle between the original render and the composited result. Clicking New creates a compositing tree with the starting nodes: Render Layers and Composite.
Compositing vs Rendering: What Happens at Each Stage
Rendering solves geometry, light, and materials: that is where Cycles or EEVEE decides how each pixel is lit. Compositing decides the final look: color balance, contrast, glows, depth of field, grain, and any adjustment affecting the whole image. Keeping both stages separate is the key to a professional workflow, because you can iterate on the finish in seconds instead of minutes of render time.
Setting Up the Compositor in Blender 5.2
The starting point is a minimal two-node tree, and everything else is built on top of it.
Enabling Use Nodes and the Render Layers Node
In the compositor header, enable the Use Nodes checkbox (or press New the first time) to activate the tree. The Render Layers node appears: it is the data entry point, connecting the rendered scene's passes, from color to Z, mist, or cryptomatte. If you have several scenes, you can choose which one feeds the tree from its properties.
The Composite Node: The Output of Your Tree
The Composite node is the output: anything reaching its Image input is what Blender considers the final result, both for saving and for displaying in the image editor. The golden rule of compositing is simple: if something is not connected to the Composite node, it is not part of the result.
Render Passes: Much More Than Color
Color is only one of the data types a render produces. Additional passes unlock effects that would be very expensive to achieve otherwise.
Z, Mist, Normal, and Cryptomatte: What Each Pass Offers
The Z pass stores each pixel's distance from the camera and is the foundation of the Defocus node for depth of field. The mist pass generates a gradual fog based on distance, ideal for atmosphere. The normal pass encodes surface orientation and enables relights or light adjustments in post. Cryptomatte generates automatic masks per object or material, perfect for changing the color or brightness of a single element without selecting it by hand.
Enabling Passes in Cycles and EEVEE
In the render properties, inside the Passes tab, check the passes you need: Z and mist for depth and fog, normal for relights, cryptomatte for per-object masks. Both Cycles and EEVEE in Blender 5.2 support these passes, although EEVEE limits some effects in real time. Enable only what you will use: every pass adds memory and computation time.
Color Correction with Nodes
Color correction is the first step of the finish: this is where you balance exposure, adjust contrast, and unify the palette.
Curves and Color Balance for a Cinematic Look
The Curves node adjusts brightness per channel with a curve: a soft S increases contrast without clipping highlights or shadows, and working the RGB channels separately fixes color casts. The Color Balance node offers separate controls for shadows, midtones, and highlights, ideal for tinting the image toward a warm or cool look without touching the rest.
Hue/Saturation/Value: Fine Color Control
The Hue/Saturation/Value node adjusts the hue, saturation, and value of the whole image or of specific ranges when combined with masks. A typical use: lower the overall saturation and boost only the protagonist object, a common technique in still lifes and product shots.
Effects: Glare, Blur, and Depth of Field
With color balanced, it is time for light and focus effects, where the Compositor performs much faster than the render itself.
Glare for Lights and Reflections
The Glare node produces the characteristic bloom of intense lights: pick the flare type (fog glow, streaks, or ghosts), adjust the threshold so only bright pixels are affected, and control the mix with the original. A subtle glow solves neon signs, headlights, or lit windows without volumetric light engines.
Defocus with the Z Pass: DOF Without Re-Rendering
The Defocus node uses the Z pass to blur by distance from the camera, simulating depth of field. Connect color and Z to the node, set the focus point and the blur amount, and you have a real-time adjustable DOF. Forgot to focus in the render: fix it here, without rendering again.
Denoise and Grain: The Final Touch
Before the output, clean the noise Cycles leaves in shadows and dark areas. You can enable denoising in the render or chain it in the Compositor, where it combines better with effects: blurs and glows applied before denoising produce cleaner results. A final touch of fine grain, generated with a Noise node and mixed at 2-3 percent, unifies the image and removes that synthetic render look.
The Blank Image Node, New in 5.2
Blender 5.2 LTS added the Blank Image node to the Compositor, a small but very practical utility: it generates a fill image with the size and color you define, directly inside the compositing tree.
Size and Fill Color for Backgrounds and Mattes
Set the width and height in pixels and the fill color, and the node outputs an image ready to combine: use it as a background behind your render, as a placeholder while waiting for a texture, or as a color matte to correct specific areas. It works with any mix or masking node and saves the step of creating and loading an external image.
Viewing, Comparing, and Exporting
The work is not done when the tree is connected: it is time to review it and save it in the right format.
The Viewer Node and Image Editor Tabs
The Viewer node previews any branch of the tree: connect it after a specific effect to see only that result, or compare it with the original render by toggling the image editor tabs. This way you instantly spot whether an adjustment hurts the whole before exporting.
File Output for Saving Multiple Formats
The File Output node saves the result to disk: define a path, a format (PNG, JPEG, EXR), and a color space per output. You can have several outputs at once, for example the EXR with all passes for later editing and the final PNG for sharing, all from a single tree render.
Conclusion
The Compositor turns a correct render into a finished image: color correction, glow, depth of field, denoise, and export, all with nodes and without re-rendering. Start with a minimal Render Layers and Composite tree, add passes according to the effect you need, and experiment with the new Blank Image node in 5.2 for backgrounds and mattes. Keep reading the blog for more Blender 5.2 guides, from scene lighting to procedural materials.














