
Blender 5.2 Walk Cycle: Animate a Character Walking with the 4 Key Poses

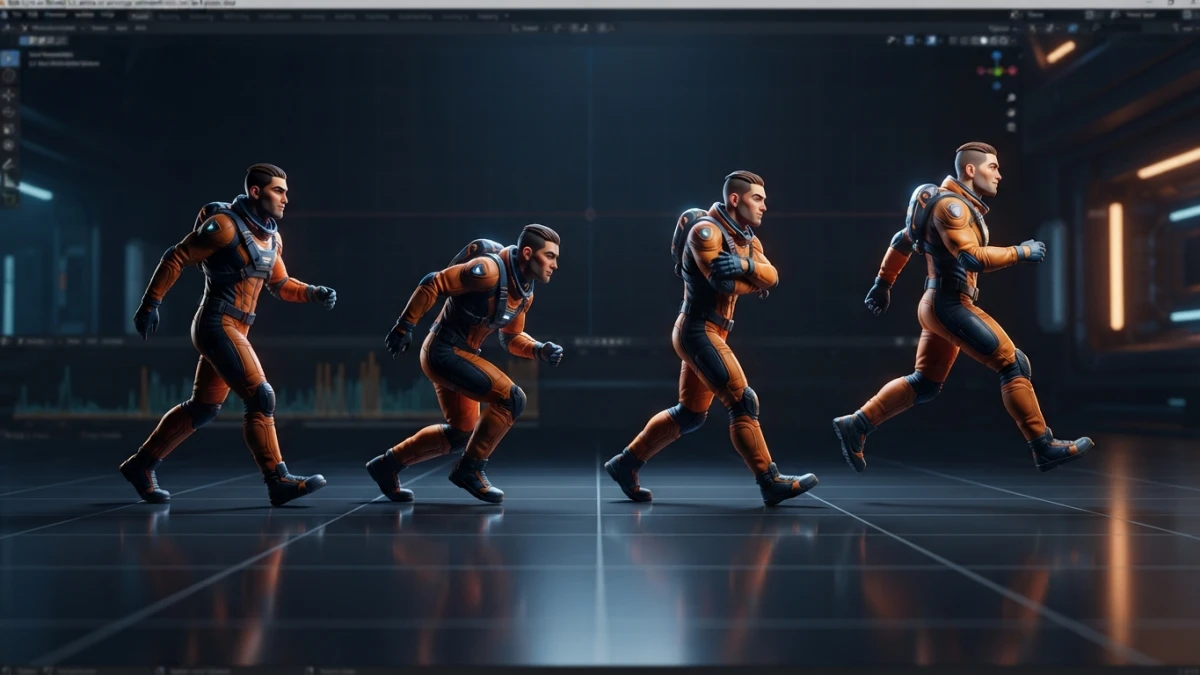
A believable walk cycle is built from just 4 poses and 24 frames: Blender 5.2 LTS ships everything you need out of the box, and this guide walks you through the whole flow, from the first pose to a seamless loop.
What a Walk Cycle Is and Why You Should Master It
The walk cycle is the rite of passage of character animation. Any animator who wants their creatures to move with weight and naturalness ends up here, and for good reason: mastering the walk cycle trains your eye for timing, weight, and spacing, the three skills you apply to every other animation you will ever make.
The Cycle: Two Steps That Repeat in a Loop
A full walk cycle contains two steps, one with each leg. That sequence repeats without cuts, and the trick is making the final frame link back to the first one with no visible seam. Once you manage that, you can extend the walk as far as you want by duplicating the cycle, something essential for games, cinematics, or any shot where a character walks across a scene.
The Classic Reference: Richard Williams' The Animator's Survival Kit
Everything you need to know about the step is condensed in Richard Williams' The Animator's Survival Kit, the manual that trained two generations of animators. His method breaks the step into four key poses: CONTACT, DOWN, PASSING, and UP. It is not the only way to approach it, but it is the most proven, and it works just as well in 3D as in 2D.
Setting Up the Scene in Blender 5.2
Before touching a single bone, get the scene ready. Blender 5.2 LTS was released on July 14, 2026 with two years of support (until July 2028), and its animation toolset includes playback improvements you will notice while working on cycles. If you do not have an animatable character yet, it is worth reviewing rigging before you continue.
The Rig and the Animation Workspace
Switch to the Animation workspace (it is in the top bar, next to Layout and Modeling). You will see the timeline at the bottom and the Dope Sheet collapsed on the right, everything designed for animating. For the character, the fastest route is Rigify's metarig: Add > Armature > Human (Meta-Rig), then Generate Rig in the sidebar. It is a complete humanoid rig with FK/IK controls, and you need nothing more professional for a believable walk.
Setting 24 FPS and Enabling Auto Keying
In the timeline, open the FPS menu (24 usually appears by default) and confirm it. Classic cinema animates at 24 fps and that is the standard rhythm for a neutral walk. Then enable Auto Keying: it is the button with a white dot, next to the lock in the timeline header; once active, every transformation change on a different frame is recorded automatically. You can also press I over a control to insert a keyframe manually whenever you prefer full control.
The 4 Key Poses of a Step
With the rig ready and Auto Keying on, it is time for the important part: the poses. Work with the right leg and left arm first, then duplicate the gesture for the other side. These are Williams' four poses, in order.
Contact: The Foot Hits the Ground
On frame 1, the heel of the front leg has just touched the ground and the back leg is about to push off. The body sits at mid-height, between its lowest and highest points. This pose sets the rhythm of the step: it is the moment of maximum reach.
Down: The Body Absorbs the Weight
On frame 7, the foot is fully planted and the body sinks to its lowest point, absorbing the impact. The supporting leg is bent and the hip on the advancing side dips slightly. This is where the character's weight shows.
Passing: The Free Leg Passes the Standing One
On frame 13, the free leg passes right by the supporting one, knee lifted high and foot tucked in so it does not drag. The body is back at mid-height. This pose marks the moment of highest pendulum speed.
Up: The Body Reaches Its Highest Point
On frame 19, the supporting leg is straight, the body rises to its highest point, and the free leg prepares for the next step. This closes the first half of the cycle: from frame 25 onward you repeat the same poses swapping right for left.
Timing and Spacing: The Speed of the Walk
The poses are the score, but timing is the performance. The spacing between key poses decides whether your character strolls calmly or walks in a hurry.
Spacing the Poses Across a 24-Frame Cycle
In a 24-frame cycle at 24 fps, each step lasts 12 frames: key poses at 1, 7, 13, and 19, and the cycle closes at 25 by copying frame 1. That distribution produces a neutral, relaxed walk, the foundation to build on.
How Pose Spacing Changes the Rhythm
If you spread the poses apart (contact at 1, down at 9, passing at 17), the step stretches and the walk becomes slower and more languid. If you pull them closer, the character walks faster. Spacing matters too: the in-between poses should not be evenly distributed, but should respect the foot gaining speed in the air and slowing down on contact.
The Details That Make the Walk Believable
The four poses give you the skeleton of the step, but without these details the result is robotic. These are the four points I always check when a walk cycle "does not work".
Arm and Leg in Opposition
When the right leg moves forward, the left arm swings forward and the right arm goes back. That is the body's natural counterbalance, and without it the character looks like an articulated mannequin. Animate the shoulders with a slight rotation added to the arm swing.
Hip Rotation and Vertical Bob
The hips rotate slightly on the vertical axis: the hip on the advancing side dips a little at DOWN and rises at UP. The whole body also bobs: down at DOWN, up at UP. The vertical bob is the detail that fixes most flat walks, and it is usually the culprit when the animation looks floaty or toy-like.
The Foot: Heel, Flat, and Push-Off
The foot does not land flat all at once. The heel contacts first, then the sole comes down, and finally the foot pushes off with the toes. That heel-toe sequence is what separates a human walk from a slide. At PASSING, the free foot tucks in with the instep pointing down so it does not drag.
Closing the Loop: The NLA Editor and Looping Action
With both halves of the cycle animated, it is time to turn it into a seamless loop you can reuse.
Matching the First and Last Frames
Frame 25 must be identical to frame 1: select all the rig's controls, move to frame 25, and press I to insert the same keyframes as on frame 1. If the values do not match exactly, you will see a pop on every repetition of the cycle.
Turning the Action into an NLA Strip and Repeating It
Select the rig, open the NLA Editor, and press Shift+A over the track to create a strip from the action. From there, duplicate the strip (Shift+D) and place it right after the previous one; the cycle repeats endlessly. You can scale the strip to lengthen or shorten the walk without re-animating anything.
Polishing in the Graph Editor: Smooth Curves, No Spikes
The final pass happens in the Graph Editor. Select the hip and shoulder channels and review the curves: abrupt slope changes produce jitter. Select the keyframes of the problematic curves and smooth them with V > Automatic or adjust the handles manually. Pay special attention to the vertical bob: its curve should be a smooth wave, not a zigzag. This pass is also the moment to spot speed spikes in the feet, which reveal that the cycle is not properly closed.
Final Exercise: A 24-Frame Walk Ready to Render
To lock in the technique, repeat the whole flow: generate a Rigify metarig, pose the 4 key poses at 1, 7, 13, and 19, duplicate the right half for the left, close the loop at frame 25, and build the strip in the NLA Editor. Then dress the scene with an asset from the Essentials library expanded in 5.2 (parametric materials or an HDR background) and render the 24 frames. You will see the walk repeat without cuts, ready for any production.
Conclusion
A believable walk cycle does not need an expensive rig or plugins: it takes 4 poses, 24 fps timing, and a handful of weight details placed correctly. If you build on the keyframe and curve foundations covered on this blog and practice this flow with the NLA Editor, you will have a perfect walk in an afternoon. Then try a run cycle: the same poses, suspension frames, and more rhythm. Keep reading the blog for more animation and 3D design tutorials.














