
Animate Characters in Blender 5.2 with Mixamo: From Model to Render Without Hand Rigging

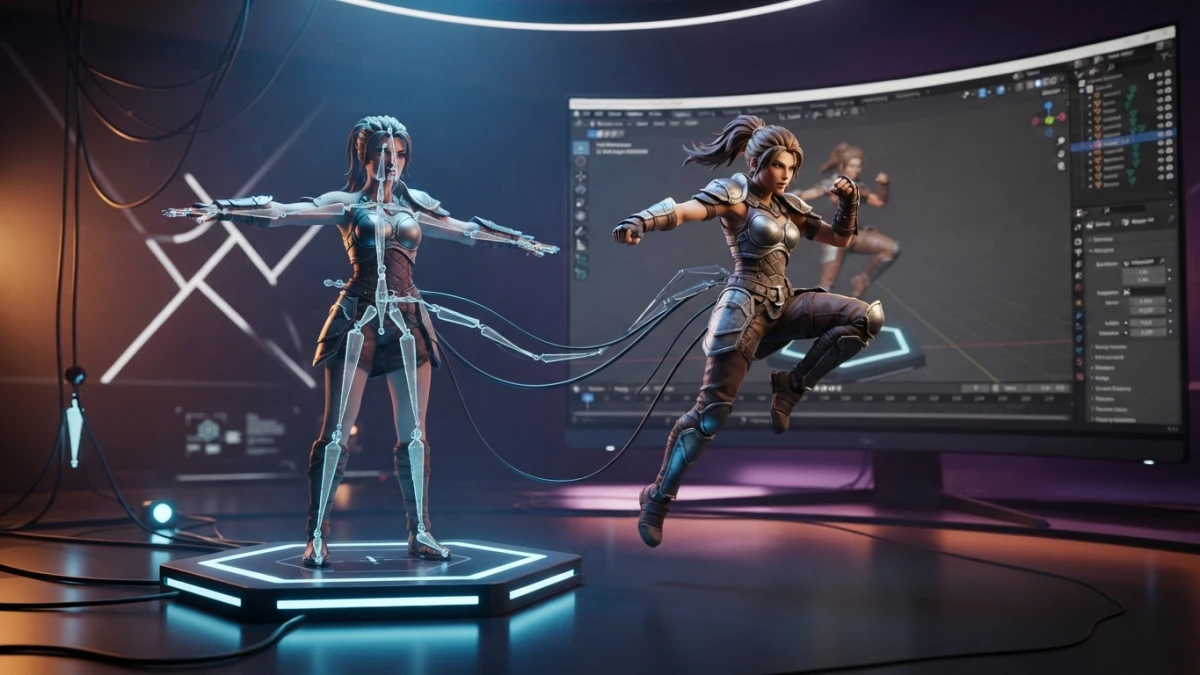
Hand-rigging a humanoid character can take days; with Mixamo you upload your model, drop a few markers, and minutes later you are back in Blender 5.2 with a rigged, animated character. This guide covers the full Mixamo to Blender round trip, scale fixes included.
Why Use Mixamo to Animate Characters in Blender
If your goal is a character that walks, runs, or jumps for a game, a prototype, or a preview, building the skeleton and painting weights by hand is the slowest part of the process. External auto-rigging exists for those cases, and Mixamo, Adobe's service, combines an auto-rigger that turns any humanoid into an animatable skeleton with skin weights and a library of thousands of animations, many of them real motion capture: you pick a clip, assign it to your character, and download it as FBX.
Auto-Rigging vs Rigging by Hand: When It Is Worth It
Rigging by hand makes sense when you need total control: non-humanoid characters, very specific deformations, or custom game mechanics. For everything else, a well-tuned automatic rig gets the job done in a fraction of the time. The practical rule: if the character is humanoid and the animation will be standard, auto-rigging saves you hours or days. Be honest about the limits: it does not handle quadrupeds or invented anatomies well, and you will not get the fine control of a custom rig; for that, manual rigging or Rigify remain the answer.
Preparing the Character in Blender 5.2
The quality of the auto-rig depends almost entirely on how the model arrives: a poorly prepared one gives misplaced markers and messy weights. There are no shortcuts in this part.
T-Pose, Human Scale, and FBX Export with Textures
The character should be in a T-pose (arms extended, palms down), because that is how the auto-rigger detects the joints. The origin should sit at the feet, the height should be human (around 180 centimeters), and the orientation should be what Mixamo expects (usually facing negative Y); a tiny, giant, or rotated character confuses proportion detection. When exporting to FBX, enable the option to embed media: otherwise the file travels without textures and the character arrives gray in Mixamo. Also make sure the export scale is 1.00 when the model is already at real size.
Auto-Rigging in Mixamo
With the FBX ready, the rest happens in the browser. Every step has its trap.
Uploading the Model, Placing Markers, and Downloading the Character
Mixamo accepts FBX, OBJ, and ZIP. If the character arrives gray, it is almost always because the textures did not travel: the FBX was missing the embedded media option, or you uploaded an OBJ without its material file and images; for OBJ, pack the .obj, its .mtl, and the textures into a .zip and upload that package. When the model loads, Mixamo proposes an initial marker layout: shoulders, elbows, wrists, hips, knees, and ankles. Review them one by one in the three views and drag them to the exact center of each joint; a misplaced marker shows up later as a weird deformation when walking.
With the markers in place, the auto-rigger computes the skeleton and skin weights. If the character is headed to a mobile game, Mixamo offers optimization options that reduce the bone count. Before downloading, move the rig controls in the preview: if an area deforms badly, adjust the markers or rerun the calculation. Once you are happy with the result, download the character with the T-pose with skin option: you get the full character with its rig in a single FBX, ready to receive animations. Keep the name in your Mixamo account to add clips later without re-uploading the model.
Choosing and Downloading Animations
The Mixamo gallery organizes clips by type: idles, walk cycles, run cycles, jumps, gestures, and dozens of other categories, many recorded with motion capture. For a first character, the classic set is an idle, a walk, and a run: with those three clips you can build a living scene by combining them in the NLA Editor. When downloading each animation, choose FBX format and decide whether you want the mesh included (with skin) or just the movement (without skin); if you are applying it to an already imported character, the without-skin option is enough and weighs less. Also check the FPS so it matches your project and the movement speed stays correct.
Importing the Character and Animations in Blender 5.2
This is where most people lose time, not because importing is hard, but because Mixamo FBX files come in with accumulated transforms. The good news: the fix is standard and takes seconds.
The Classic Fix: Applying Scale, Rotation, and Location (Ctrl+A)
In Blender 5.2, the importer lives under File > Import > FBX. Importing the rigged character brings in the mesh, the armature, and, if you downloaded it that way, the applied textures. If the character comes in huge, tiny, rotated, or offset, it is not a model problem: the FBX carries accumulated transforms on the armature. The standard fix is selecting everything in Object Mode and applying the transforms with Ctrl+A (Scale, Rotation, and Location); that step clears the odd values and gives control back to the bones. Then compare the character against a reference object about 180 centimeters tall and, if it is still off, review the FBX importer's scale or the file units.
Combining Multiple Animations with the NLA Editor
Importing one clip is easy; the interesting part is having idle, walk, and run on the same character and switching between them. That is what the NLA Editor is for.
Push Down, Blending Between Strips, and Root Motion
Every animation you import lands as an action on the character. To combine them, open the NLA Editor, select the action, and use Push Down: the action becomes a strip on the NLA timeline. Repeat with each clip and you will have several strips ready to activate independently: place the idle at the start, the walk from second three, the run after that, and overlap the strips slightly or tune their transition curves so the change is not a hard cut; the Graph Editor polishes fine details if a bone pops when changing clips.
One detail worth deciding early: many Mixamo animations come in-place, the character moves legs and arms but does not advance, because displacement is controlled by the rig or by gameplay. The animation can include root motion (the root bone translates), or you can animate the armature's movement yourself; mixing both systems is the most common cause of sliding feet.
The Production Workflow: Animation Only, Without Dragging the Rig Along
Once the character is rigged in your scene, re-importing the whole FBX every time you want to try another clip is slow. There is a cleaner workflow.
Retargeting to Your Own Rig and the mixamo2bl Add-On
If you already have your own rig, for example one built with Rigify, download the animation without skin and retarget it to your skeleton: Blender includes retargeting tools that need a small initial bone-matching setup, and in exchange your rig keeps its controls while Mixamo only supplies the movement. For the direct Mixamo workflow, the community add-on mixamo2bl automates importing Mixamo FBX files and lets you update an animation without re-importing the whole character; it is open source under the MIT license, installs like any Blender add-on, and removes a lot of friction when you work with many clips.
Rigify, moreover, is the natural alternative if the project grows and you need finely controlled fingers, integrated facial expression, or specific mechanics: it generates an advanced humanoid rig inside Blender and accepts retargeting from Mixamo animations. The initial work is heavier than auto-rigging, but the later control is unmatched; we already covered turning a model into an animatable character with manual rigging if you want to explore that path in detail.
Rendering and Licensing
With the character animated, only two important warnings remain before turning the work into images. Blender 5.2 renders the whole animation in EEVEE for fast previews or in Cycles for final quality: before launching the render, check the textures in the viewport with your chosen engine and tune the lighting, because a perfect rig is ruined by flat light.
And a legal warning: Mixamo makes characters and animations available for free, but if the result goes into a commercial product, review Adobe's current terms: conditions change, this guide does not replace that check, and license review is each project's responsibility.
Conclusion
Animating characters with Mixamo in Blender 5.2 shrinks a days-long job to minutes: prepare the model in T-pose with embedded textures, let the auto-rigger place the markers, download character and clips as FBX, apply Ctrl+A on import, and combine the animations in the NLA Editor. It is the perfect workflow for prototypes, games, and scenes where the rig is not the star. Once you master it, try facial animation or your own walk cycle, and keep exploring the blog's tutorials.














