
Local AI with Ollama: Run LLMs on Your Own Machine Without API Fees

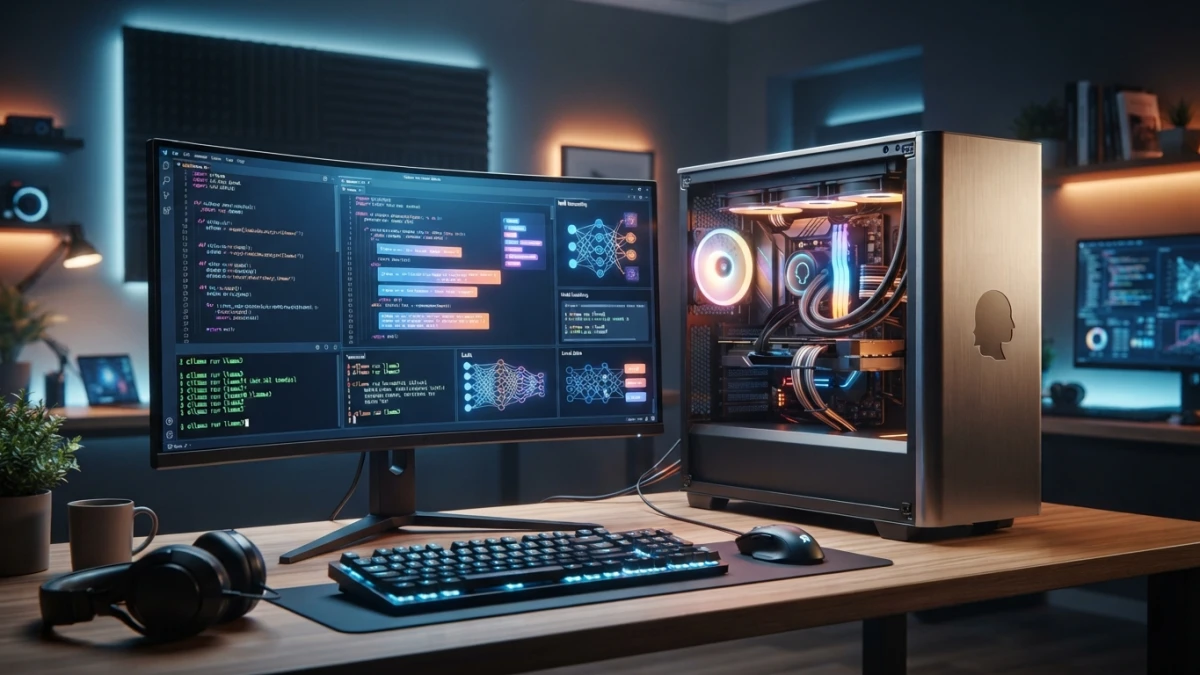
What if you could run a language model on your own machine, with no API keys, no subscriptions, and no internet connection? With Ollama v0.30.x in 2026, one command downloads an LLM and another starts a chat, and the API it exposes is compatible with the OpenAI SDK. This guide walks through the whole process, from installation to a ChatGPT-style web interface.
Why Run AI Locally in 2026
Open models have matured to the point where a home computer can run useful assistants for coding, writing, or summarizing documents. The main advantage is privacy: your conversations never leave your machine. The second is cost: you download the model once and use it without limits, with no per-token fees. The third is independence: once the model is downloaded, everything works offline.
Privacy, Cost, and Working Offline
For teams handling sensitive data, or anyone who simply prefers not to send their code to third parties, local AI removes at once any doubts about where your prompts end up. There is no conversation telemetry, no daily message limit, and no bill at the end of the month. The only real cost is hardware: enough video memory (VRAM) for the model you want to run.
Ollama vs. LM Studio vs. Cloud APIs
Ollama and LM Studio are the two most cited tools in 2026 for privacy-focused AI development. Ollama stands out for its simple command line and OpenAI-compatible API, ideal for integrating into scripts and applications. LM Studio offers a very polished graphical interface for trying models. Cloud APIs, on the other hand, still win on larger models, but lose on privacy, latency, and long-term cost if your usage is intensive.
Installing Ollama on Linux, macOS, and Windows
Installing Ollama is straightforward on all three systems. On Linux and macOS, use the official installer from the terminal:
curl -fsSL https://ollama.com/install.sh | shOn Windows, download the installer from the official website and the wizard sets everything up, including the background service. To check that everything works, run:
ollama --versionChoosing a Model for Your Hardware (VRAM)
The golden rule is that the model must fit in your VRAM with its quantization. As a rough reference: a 3B model needs about 4 GB, a 7B model about 8 GB, a 13B model about 16 GB, and quantized 70B models exceed 40 GB. With that figure in mind, the choice is almost immediate.
4-8 GB: Llama 4 Scout 8B and 3B/7B Models
If you have a mid-range card like an RTX 4060, or an Apple M3 with 8 GB unified memory, your ceiling is in the 7B/8B range. Llama 4 Scout 8B is a balanced option for general chat and everyday tasks, and 3B models are great for quick tests on any machine.
16-24 GB: Qwen3 Coder 30B/32B for Coding
With 24 GB, the picture changes completely. For development, qwen3-coder:30b leads in 2026: it uses an MoE architecture with 3.3 billion active parameters, takes about 19 GB in Q4_K_M quantization, supports a 256K context, and offers the best quality per GB of VRAM on 24-32 GB GPUs or a Mac with 32 GB unified memory.
40 GB+: Quantized 70B Models
If you have a high-end GPU with 40 GB or more, you can run 70B models in Q4_K_M quantization. That unlocks deeper reasoning and better results on complex tasks, although at the cost of lower generation speed if the model does not fully fit in memory.
First Steps: pull, run, and Chat from the Terminal
Downloading a model is as simple as asking Ollama for it. For example, for Llama 4 Scout 8B:
ollama pull llama4-scout:8bAnd to open an interactive chat directly in the terminal:
ollama run llama4-scout:8bFrom there you can converse as with any chatbot, but with all traffic staying local. To exit the chat, type /bye.
The REST API on localhost:11434 and the OpenAI SDK
What turns Ollama into a development piece is its REST API, which listens on localhost:11434 and is compatible with the OpenAI SDK. To use it from Python, just point the base URL at your machine:
from openai import OpenAI

client = OpenAI(base_url="http://localhost:11434/v1", api_key="ollama")

resp = client.chat.completions.create(
    model="qwen3-coder:30b",
    messages=[{"role": "user", "content": "Explain what a Modelfile is"}],
)
print(resp.choices[0].message.content)
Structured JSON Output and Tool Calling
The API supports structured JSON output, which lets you integrate the model into data pipelines without parsing free text, and tool calling, so the LLM can invoke functions of your application. With that you can build local agents that query databases, run commands, or fill forms, all without leaving your network.
Modelfiles: Building Your Own Models
Modelfiles let you define variants of a model: change the system prompt, adjust temperature, or set context parameters. A minimal example:
FROM llama4-scout:8b
SYSTEM "You are an expert Laravel assistant. Always answer in English."
PARAMETER temperature 0.3
Build it with ollama create my-assistant -f Modelfile and you can already use it with ollama run my-assistant.
Web UI: Open WebUI in Docker
If you prefer a ChatGPT-like experience in the browser, Open WebUI connects to Ollama and deploys in a minute with Docker:
docker run -d -p 3000:8080 \
  -v open-webui:/app/backend/data \
  --add-host=host.docker.internal:host-gateway \
  --name open-webui ghcr.io/open-webui/open-webui:main
With the interface on localhost:3000, you pick the model, manage conversations, and even share chats. The Ollama plus Open WebUI combo is the equivalent of having a private ChatGPT at home.
Common Issues: Unused GPU and 500 Errors
The most common problem is Ollama using the CPU instead of the GPU. On Linux, check that the NVIDIA driver is installed and that the nvidia-container-toolkit package is present if you use containers. 500 errors during generation are usually caused by lack of memory: lower the context with PARAMETER num_ctx in the Modelfile or pick a smaller model. Running ollama ps helps you see which model is loaded and how much memory it takes.
Conclusion
With Ollama, running local AI in 2026 is a matter of minutes: install, pick a model for your VRAM, chat from the terminal or from Open WebUI, and, if needed, integrate the API into your own projects. Privacy, zero per-token cost, and offline operation. If you enjoyed this guide, keep reading the blog for more development and tech tutorials.














