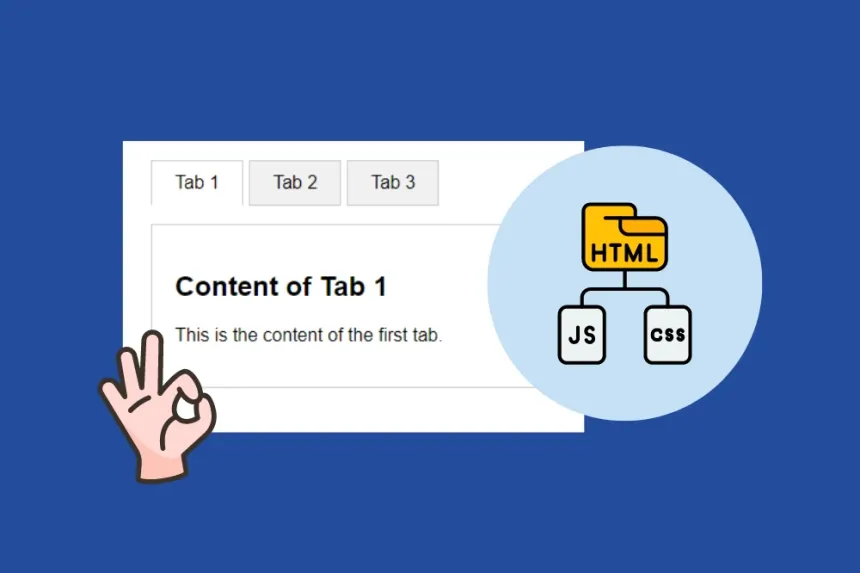
Creating a Tab System with HTML and CSS


In web development, creating a tab system is a fundamental technique for organizing content in a logical and accessible way. This article will guide you step by step on how to create a tab system using only HTML and CSS. Be sure to follow each section for a professional and SEO-optimized result.
What are Tabs?
Tabs are user interface elements that allow users to navigate between different sections of content easily. This approach not only improves the organization of information but also provides a better user experience.
Advantages of Using Tabs
- Organization: They allow for the structured arrangement of extensive content.
- Interactivity: They enhance the user experience by enabling navigation without reloading the page.
- Space Efficiency: They save space on the interface by showing only what's necessary at any moment.
Basic HTML Structure
To get started, we first need the basic HTML structure for our tabs. Below is a simple example:
<!DOCTYPE html>
<html lang="en">
<head>
    <meta charset="UTF-8">
    <meta name="viewport" content="width=device-width, initial-scale=1.0">
    <title>Tab System</title>
    <link rel="stylesheet" href="styles.css">
</head>
<body>
    <div class="tabs">
        <ul class="tab-list">
            <li class="tab active" data-tab="tab1">Tab 1</li>
            <li class="tab" data-tab="tab2">Tab 2</li>
            <li class="tab" data-tab="tab3">Tab 3</li>
        </ul>
        <div class="tab-content active" id="tab1">
            <h2>Content of Tab 1</h2>
            <p>This is the content of the first tab.</p>
        </div>
        <div class="tab-content" id="tab2">
            <h2>Content of Tab 2</h2>
            <p>This is the content of the second tab.</p>
        </div>
        <div class="tab-content" id="tab3">
            <h2>Content of Tab 3</h2>
            <p>This is the content of the third tab.</p>
        </div>
    </div>
    <script src="scripts.js"></script>
</body>
</html>
Breakdown of the HTML Code
- Basic Structure: The page starts with the <!DOCTYPE html> declaration followed by the <html> tag, which indicates the start of the HTML document.
- Tab List: An unordered list <ul> is used to contain the tab elements.
- Tab Content: The contents associated with each tab are placed in <div> elements with the class tab-content.
CSS Styles for Tabs
Next, here are some basic CSS styles for our tab interface:
body {
    font-family: Arial, sans-serif;
}

.tabs {
    margin: 20px;
}

.tab-list {
    list-style-type: none;
    padding: 0;
    display: flex;
    cursor: pointer;
}

.tab {
    padding: 10px 20px;
    background: #f1f1f1;
    border: 1px solid #ccc;
    margin-right: 5px;
}

.tab.active {
    background: #fff;
    border-bottom: 1px solid transparent;
}

.tab-content {
    display: none;
    border: 1px solid #ccc;
    padding: 20px;
}

.tab-content.active {
    display: block;
}
Explanation of the CSS Styles
- Basic Styles: Margins and fonts are defined for a clean appearance.
- Tab List: Default styles for lists are removed, and a flexbox layout is implemented for the tabs.
- Content Visibility: Only the content of the active tab is set to be shown.
Adding Interactivity with JavaScript
To make our tabs interactive, we need to add some JavaScript scripts. The following code will facilitate the switching between tabs:
document.querySelectorAll('.tab').forEach(tab => {
    tab.addEventListener('click', () => {
        const activeTab = document.querySelector('.tab.active');
        const activeContent = document.querySelector('.tab-content.active');

        // Remove the active class from the current tab
        activeTab.classList.remove('active');
        activeContent.classList.remove('active');

        // Add the active class to the new tab
        tab.classList.add('active');
        const newContent = document.getElementById(tab.getAttribute('data-tab'));
        newContent.classList.add('active');
    });
});
How the Script Works
- Select Tabs: All tabs are selected and a click event is added to them.
- Change Active Classes: When a tab is clicked, the active classes are removed from the current tab and content, and are assigned to the new tab and its corresponding content.
SEO Optimization for Tabs
When implementing a tab system, it is important to consider optimization for search engines. Here are some tips:
- Proper Use of Headings: Use heading tags (<h2>, <h3>, etc.) appropriately to structure the content.
- Alternative Descriptions: Ensure to include alt attributes for any images present within the tabs.
- User-Friendly URLs: If each tab has specific content, consider using user-friendly URLs or URL fragments in the hash for each section.
Conclusion
Creating a tab system using HTML and CSS not only improves content organization but also provides users with a more engaging experience. With the addition of JavaScript, we have enabled interactive functionality that transforms a simple list into a dynamic navigation format.
Always remember to optimize your content for SEO and test functionality across different browsers and devices. With these steps, you are ready to implement tabs in your next web project. Good luck!
Article information
Key tips
Take your time to understand each concept before moving on to the next one.
Practice the examples in your own development environment for better understanding.
Don't hesitate to review the additional resources mentioned in the article.


