
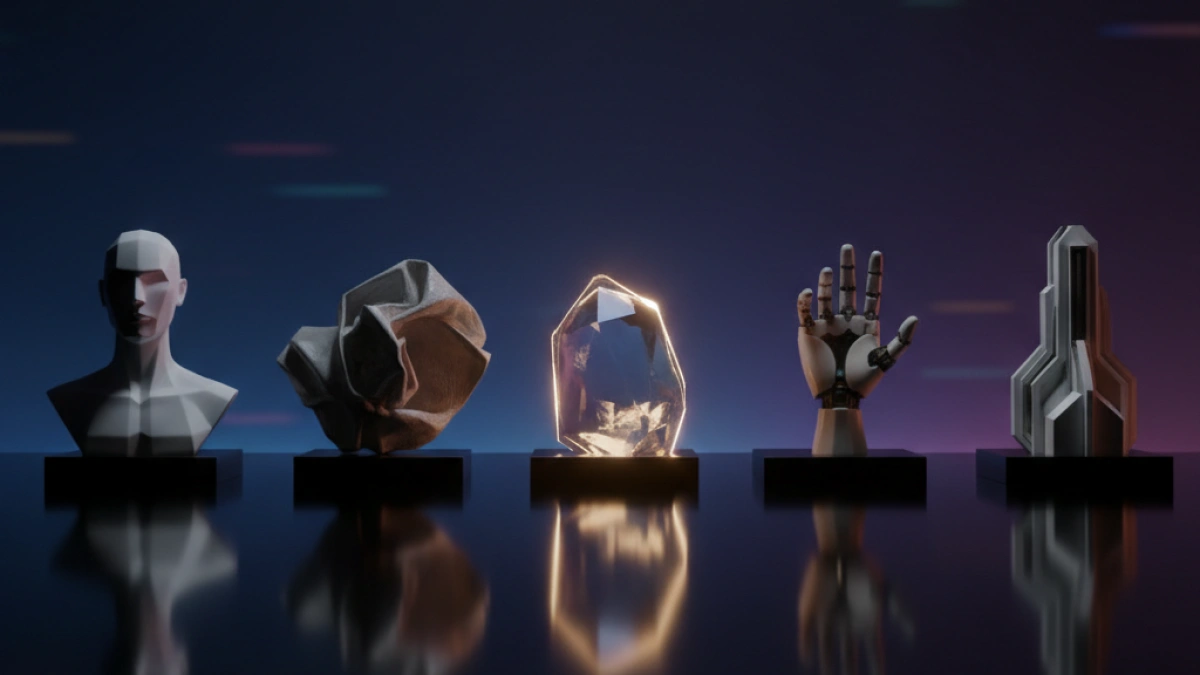
Creating 3D objects involves much more than simply designing a three-dimensional object or scene; the key to effective modeling lies in its realism. To achieve this level of visual conviction, it is crucial to consider not only shapes and textures but also the use of light and how it impacts the models. Below, five photographic lighting techniques are presented that help give a realistic appearance to 3D designs.
Types of Light in Photographic Lighting
Modern 3D modeling programs offer various options to apply different light sources. Before delving into the application of these techniques, it is essential to understand the types of light and their behavior:
- Natural Light: This is daylight, which can vary in tone and intensity depending on weather conditions and the time of day.
- Artificial Light: Coming from sources such as bulbs or lamps, its tone and intensity depend on the power and position of the emitter.
- Hard Light: Common in close-ups, it provides sharp, contrasted shadows that emphasize the shape of objects.
- Soft Light: It generates less defined shadows and gives a less aggressive look to the lighting, commonly associated with low or moderate-intensity light sources.
These categories are essential for understanding how a 3D object or scene should be illuminated to achieve a natural effect.
Lighting Techniques for 3D Modeling
Once the available types of light are understood, various lighting techniques can be applied. Each has a specific effect on how objects are perceived. Below are five of the most commonly used techniques:
1. Front Light
Front lighting is one of the most basic techniques. It involves illuminating the object or scene from the front. This technique can cause shadows to fall behind the model, creating a flat visual phenomenon and reducing the sense of depth. Due to its simplicity, it is ideal for showcasing clear details, although it often lacks dynamism.
2. Side Light
Side lighting originates from one side of the object, creating a shadow effect that highlights the shape. Depending on the chosen source, one can play with the hardness or softness of these shadows. Additionally, the intensity of the shadows can be countered by adding soft light on the opposite side.
3. Back Light
The backlighting technique involves placing the light source behind the object. The result is that the object appears as a silhouette, which can impart a dramatic or mysterious effect. This technique is particularly effective for scenes that seek to evoke emotions or create a sense of intrigue.
4. Overhead Light
In overhead lighting, the light source is positioned directly above the object. This creates a strong contrast, where the top of the object is brightly lit while shadows are accentuated on the bottom. This technique can be combined with other types of light, such as front or back light, to achieve various effects.
5. Under Lighting
Under lighting is positioned below the object and projected diagonally. This approach generally produces shadows on the top of the object, which can create a disturbing or sinister effect, often used in horror scenes. It can also give a sense of height and slenderness to the objects.
Combining Lighting Techniques
Once the previous techniques are known, combining several of them can result in more sophisticated visual effects. For example, a three-point lighting scheme can be effective: a key light provides the base illumination, a fill light softens the shadows, and a third light is used for the background or additional details.
Using multiple techniques not only allows for manipulation of visual perception but also offers the chance to experiment until the 3D objects resemble the real world.
Conclusion
By mastering these five lighting techniques, a wide range of possibilities opens up to enhance realism in 3D models. Practice and experimentation are key to understanding how different light configurations can change the perception of an object or scene. While perfect results may not be achieved immediately, a growing understanding of photographic lighting will aid any creator in their journey toward more authentic modeling.
Keep exploring more about 3D design and modeling on this blog!


