
Lighting is an essential component in portrait photography, and the technique known as Rembrandt lighting stands out for its ability to create dramatic and visually striking images. This technique, named after the famous 17th-century Dutch painter, is an excellent choice for those looking to enhance the expressiveness of their subjects without the need for complicated setups.
What is Rembrandt Lighting?
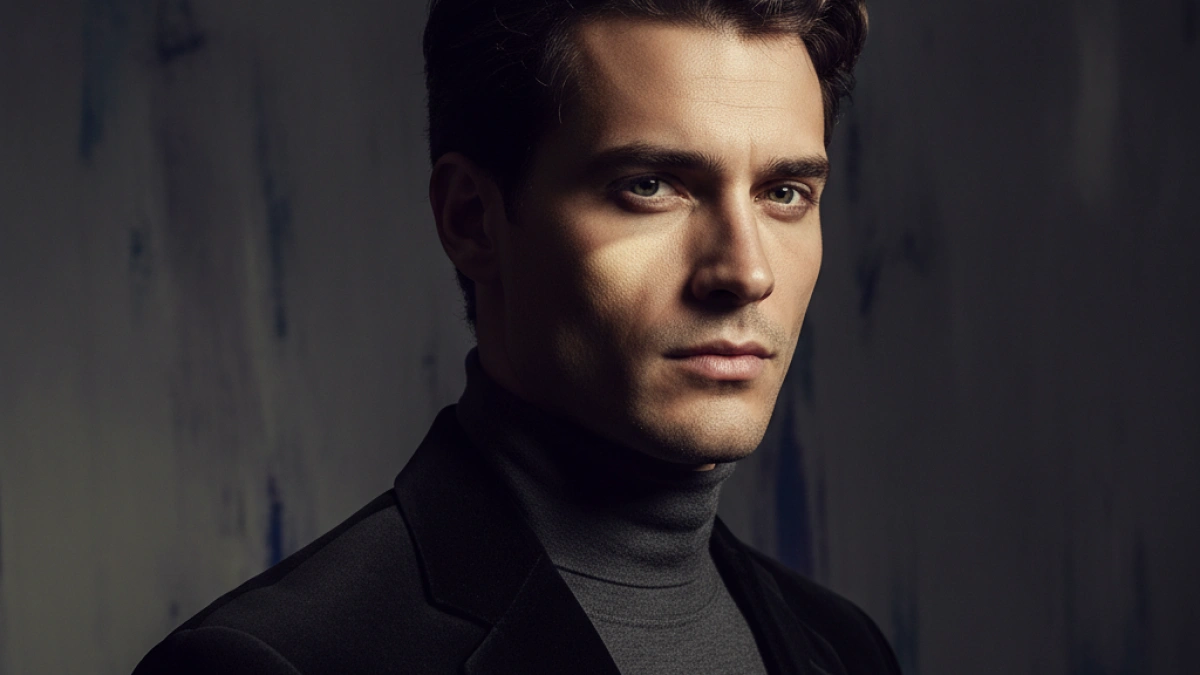
Rembrandt lighting is a portrait lighting technique that uses a single light source to generate a characteristic dramatic effect. Its fame lies in the portrayal of faces illuminated in such a way that one half of the face is well-lit while the other remains in partial shadow. This contrast not only highlights the subject's features but also establishes a sophisticated and often melancholic atmosphere.
The technique is easily recognizable by the presence of a small triangle of light that appears under the subject's eye on the illuminated side, which is formed as a result of the correct placement of the light source. To achieve this triangle, the light must be positioned such that its width does not exceed the length of the eye and its length does not pass beyond the model's nose.
Advantages of Rembrandt Lighting
One of the main advantages of Rembrandt lighting is its ability to produce an impressive visual effect with minimal preparation. While it is possible to use a reflector to soften the lighting and add detail to the shadows, the technique can be effectively executed with just one light source, making it an accessible option for photographers of all experience levels.
Moreover, Rembrandt lighting allows for the creation of an artistic effect known as chiaroscuro, which plays with the contrast between light and shadow. This effect is particularly appreciated across different photography styles, including portraits, still lifes, and landscape photography. The interaction of light and darkness not only highlights the form of the subject but also adds an intriguing atmosphere to the image.
Setup Options for Rembrandt Lighting
Single Light Source Method
To implement Rembrandt lighting in its simplest form, it is necessary to have a studio environment with a single light source. The source should be positioned at a 45-degree angle to the subject and approximately 1.5 meters away. It is essential that the light is about 60 centimeters above the subject’s eye level and slightly tilted downward, illuminating the side of the face that is furthest from the camera.
A crucial aspect of executing this technique is ensuring that the camera flash does not interfere with the key light. Adjusting the power of the built-in flash, known as "flash compensation," can be very helpful.
Using Reflectors
For those looking to achieve softer, more natural lighting, using a reflector is recommended. This should be positioned at eye level, in front of the main light source, at a 45-degree angle, and 1 to 2 meters away from the subject. This way, the reflected light will help illuminate the subject's face.
Adding Fill Light
Fill light can be used to soften the shadows created by the main light. It is important that the fill light is not more powerful than the main light, facilitating balanced illumination. Positioned at a 45-degree angle in front of the main light source, this light will help highlight more facial details without losing the dramatic effect of the portrait.
With these setups, beginner photographers can easily understand why Rembrandt lighting is a popular choice for achieving visually striking images.
Best Scenarios for Applying Rembrandt Lighting
Since Rembrandt lighting requires proper light control, it is most effective in a studio environment. Outside conditions, with varying natural light, can make it challenging to control the necessary contrasts for this technique.
For those with a studio, it is advisable to mark the positions of the camera, model, and reflector to make future setups easier. While the basic arrangement is straightforward, adjusting the balance of lights can take time, and having these references will be helpful in subsequent projects.
Tips for Working with Rembrandt Lighting
- Use a Spot Meter: This tool is crucial for measuring the exact focus point, capturing the light on the subject's face and wrapping the rest in shadow, ideal for achieving chiaroscuro effects.
- Experiment with Various Light Sources: While Rembrandt utilized fill lights, contemporary photographers can incorporate different sources to achieve variations in the desired effect.
- Practice with Models or Self-Portraits: Just as Rembrandt perfected his technique, photographers can enhance their skills by practicing with different subjects, observing how shadows affect the aesthetics of the image.
- Execute the Placement of the Light Triangle: Properly configuring this triangle is essential for maintaining the characteristic of the Rembrandt style. It is recommended to practice its placement and dimensions to master the technique.
- Shoot in RAW: To maximize detail in high-contrast images produced by Rembrandt lighting, it is suggested to capture in RAW format, allowing for greater control over post-editing in software like Photoshop and Lightroom.
- Choose Suitable Models and Circumstances: This lighting style works optimally with round and elongated faces, accentuating features like cheekbones. It lends itself well to portraits that aim to convey power or melancholy, commonly seen in professional photos of actors and authors.
In conclusion, Rembrandt lighting combines tradition and versatility, becoming a valuable tool for photographers in various specialties and levels of experience. For more tips and techniques on portrait photography, feel free to continue exploring the content of this blog.


