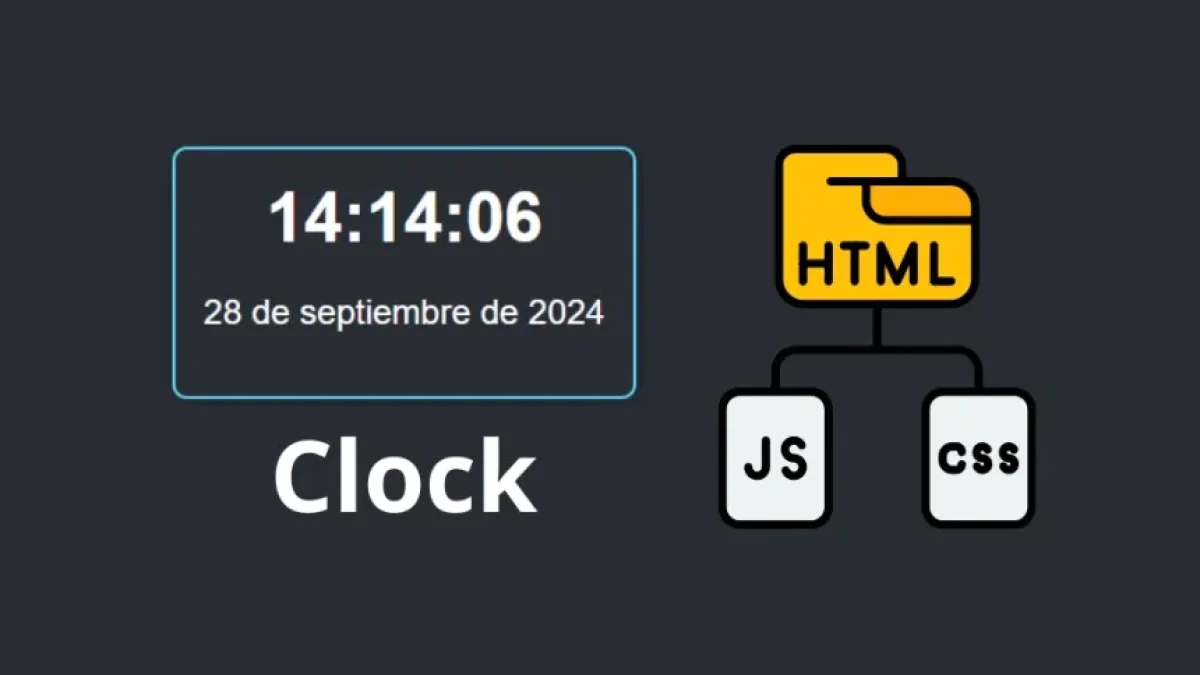
Creating a Digital Clock with HTML, CSS, and JavaScript


In the digital age, learning how to create a digital clock is a fundamental skill for any web developer. In this article, we will explore how to build a digital clock using HTML, CSS, and JavaScript. This project is not only educational but also demonstrates the interactivity of modern web applications. Let's get started!
What Will We Learn?
Throughout this article, we will learn:
- How to structure our HTML.
- Style the clock using CSS.
- Implement the clock's logic with JavaScript.
Project Structure
Before diving into the code, let's organize our project with the following file structure:
digital-clock/
│
├── index.html
├── styles.css
└── script.js
Creating the HTML File
First, let's open the index.html file and its basic features. This file will contain the structure of our digital clock.
Read also
<!DOCTYPE html>
<html lang="en">
<head>
    <meta charset="UTF-8">
    <meta name="viewport" content="width=device-width, initial-scale=1.0">
    <title>Digital Clock</title>
    <link rel="stylesheet" href="styles.css">
</head>
<body>
    <div class="clock">
        <h1 id="time">00:00:00</h1>
        <p id="date"></p>
    </div>
    <script src="script.js"></script>
</body>
</html>
HTML Description
- DOCTYPE and Initial Tags: We are using the HTML5 document type.
- Meta Tags: Set the character encoding and visibility on mobile devices.
- Link to CSS: We connect our CSS file (styles.css).
- Clock Structure: A div with the identifier clock contains an h1 header to display the time and a paragraph for the date.
- JavaScript Script: We include the script.js file to handle the clock's logic.
Styling the Clock with CSS
Now that our basic structure is ready, let's move on to styling our clock in the styles.css file.
body {
    display: flex;
    justify-content: center;
    align-items: center;
    height: 100vh;
    margin: 0;
    background-color: #282c34;
    color: white;
    font-family: 'Arial', sans-serif;
}

.clock {
    text-align: center;
    border: 2px solid #61dafb;
    padding: 20px;
    border-radius: 10px;
    box-shadow: 0 4px 20px rgba(0, 0, 0, 0.2);
}

h1 {
    font-size: 48px;
    margin: 0;
}

p {
    font-size: 24px;
}
CSS Analysis
- Body Styles: We use flex to center the content both vertically and horizontally. We also set a dark background and a contrasting color scheme.
- Clock Styling: We apply borders, padding, and shadows to enhance aesthetics.
- Adjusted Sizes: The font sizes are adjusted to highlight the time and date.
Implementing the Logic with JavaScript
Finally, we will implement the clock functionality in our script.js file. This will automatically update the time every second.
function updateClock() {
    const now = new Date();
    const hours = String(now.getHours()).padStart(2, '0');
    const minutes = String(now.getMinutes()).padStart(2, '0');
    const seconds = String(now.getSeconds()).padStart(2, '0');
    const time = `${hours}:${minutes}:${seconds}`;
    document.getElementById('time').textContent = time;

    const dateOptions = { year: 'numeric', month: 'long', day: 'numeric' };
    const date = now.toLocaleDateString('en-US', dateOptions);
    document.getElementById('date').textContent = date;
}

// Update every second
setInterval(updateClock, 1000);
// Call the function to set the clock immediately upon page load
updateClock();
JavaScript Breakdown
- updateClock Function: This function retrieves the current time and formats it. The padStart(2, '0') method ensures that we always have two digits.
- Updating the DOM: We use document.getElementById to access our HTML elements and update their content.
- setInterval: The updateClock function is called every 1000 milliseconds (1 second) to keep the clock updated.
- Run on Load: We call updateClock when the page loads to display the time immediately.
Test Your Digital Clock
Now that we have completed our code, open the index.html file in your browser. You should see a digital clock that updates every second, displaying the current time and date.
Read also
Conclusions
Before concluding, here's a summary of what we've learned:
- Creation of a basic HTML structure.
- Attractive styling using CSS.
- Implementation of clock logic with JavaScript.
What's Next?
From this point, you can expand your project. Some ideas include:
- Adding a timer or stopwatch.
- Changing the design to fit different themes.
- Incorporating animations using CSS.
With this tutorial, you now have a solid foundation to create your own digital clock. Explore and experiment with your own ideas!


